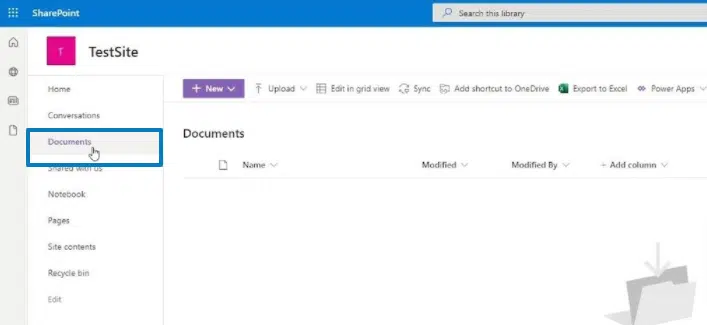
Locate a Document Library
- If your department has a team site, look for Shared documents or a similar name, typically on the left side.
-
Click the name of the library to open it.
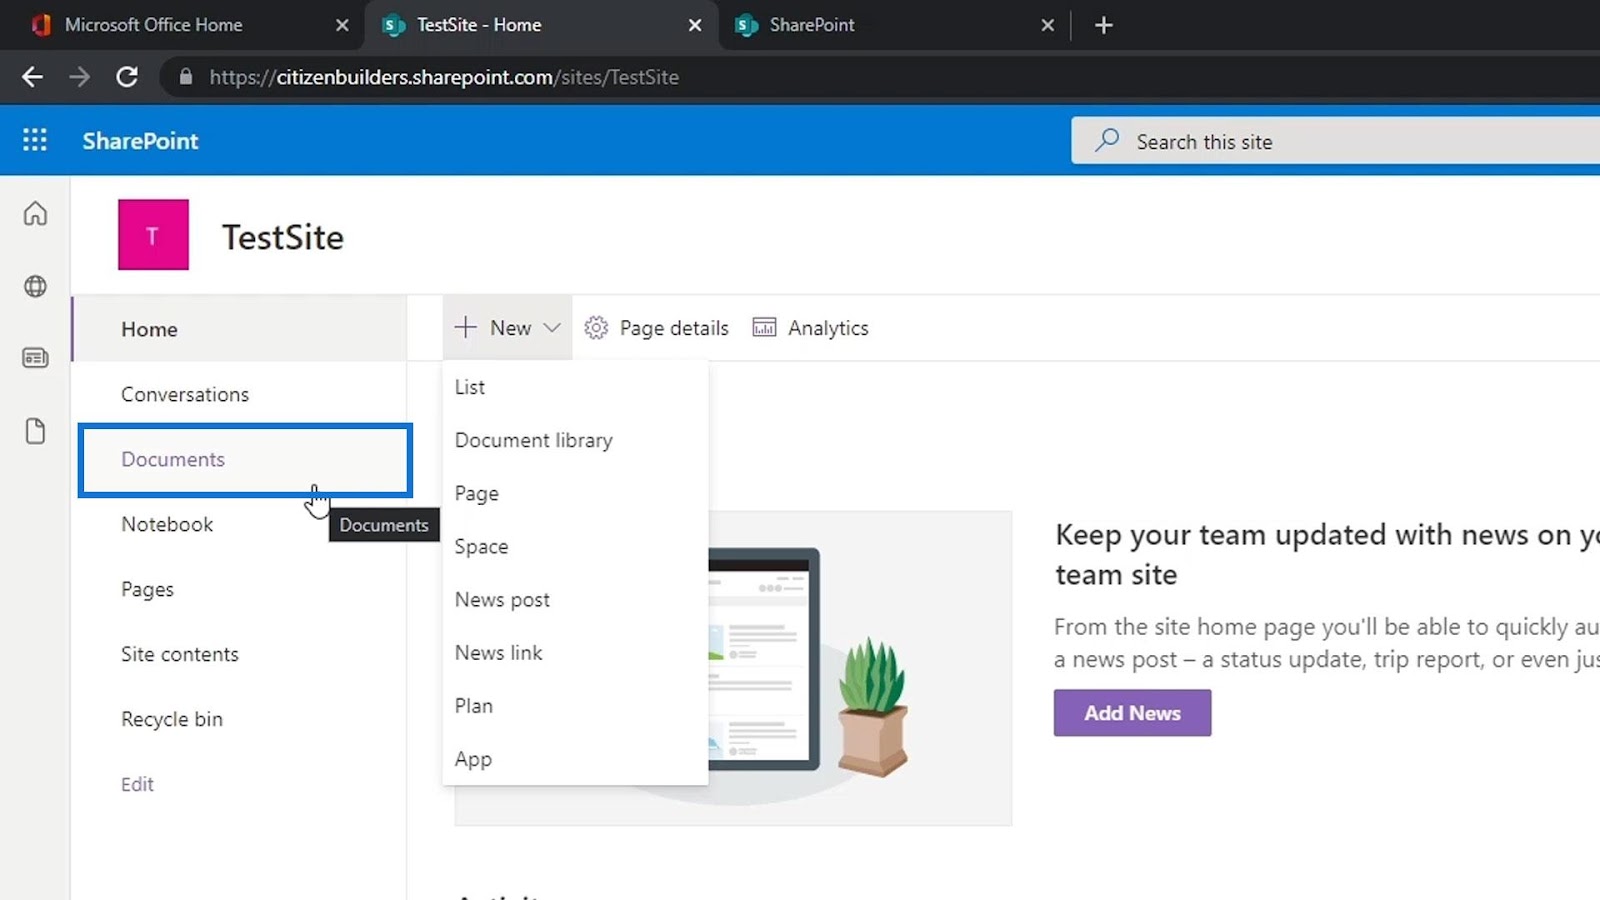
Create a New Document
- Click the +new option above the document library.
- Choose the file type you would like to create: Word, Excel, PowerPoint, or OneNote.
The document will open in your browser. You can begin typing here, with limited functionality, or you can choose Open in Word/Excel/PowerPoint/OneNote to work with this document in the software. There is no need to use File, Save As.
Simply click the
Save button to save your changes back to SharePoint.
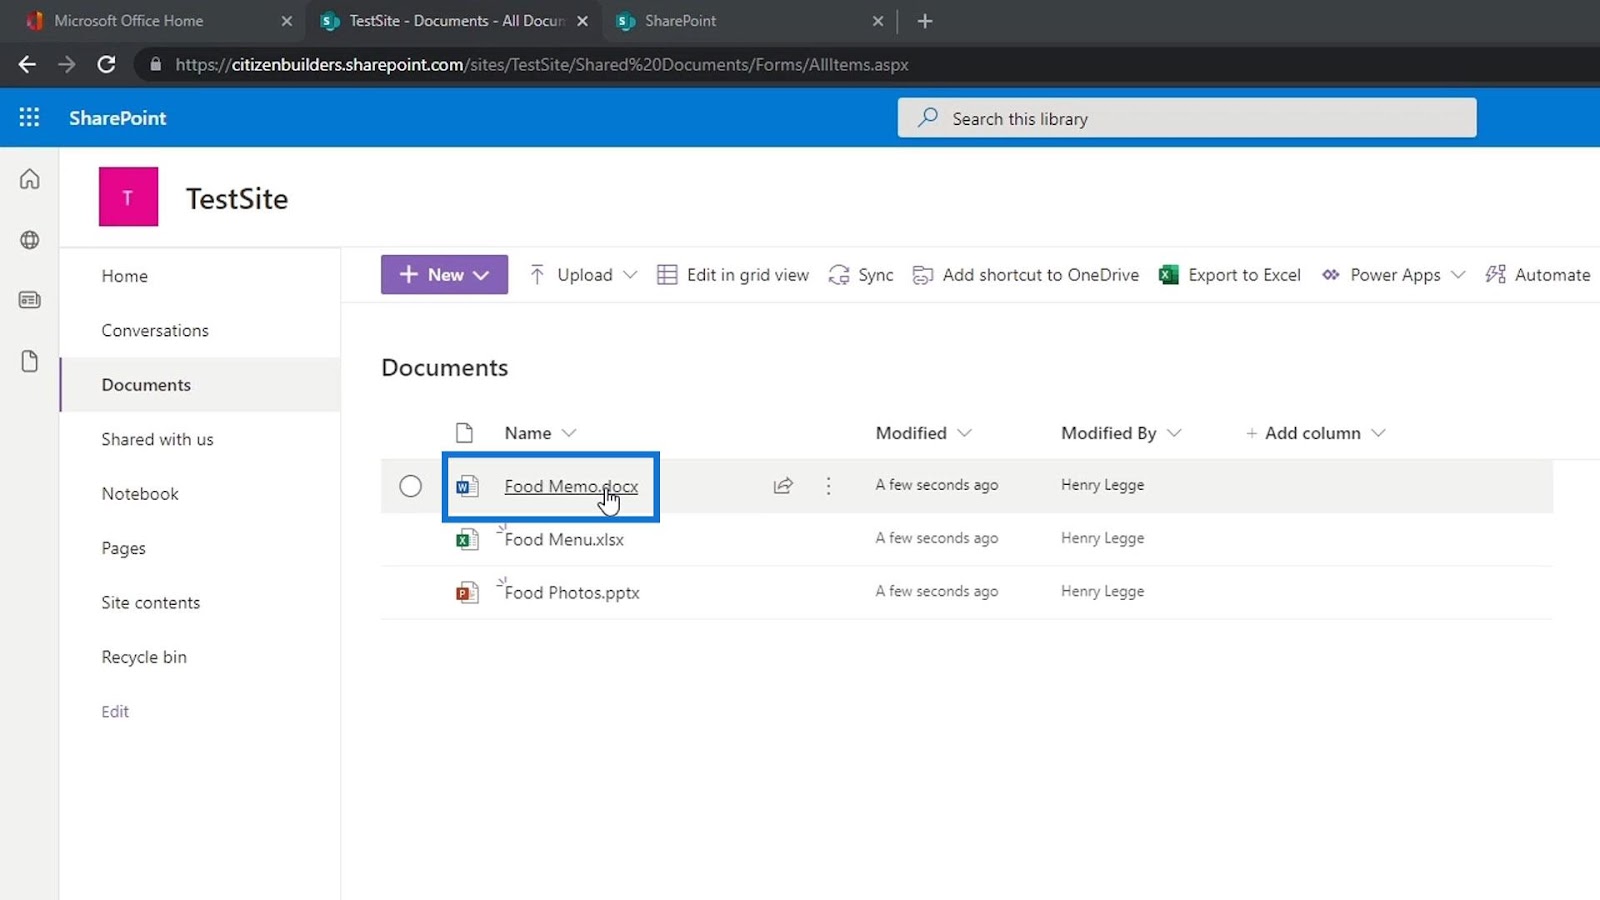
Edit a Document
- Click the name of the document you would like to edit.
- Make any changes you like to the document.
- Click the Save button. Your changes are saved to the document library.
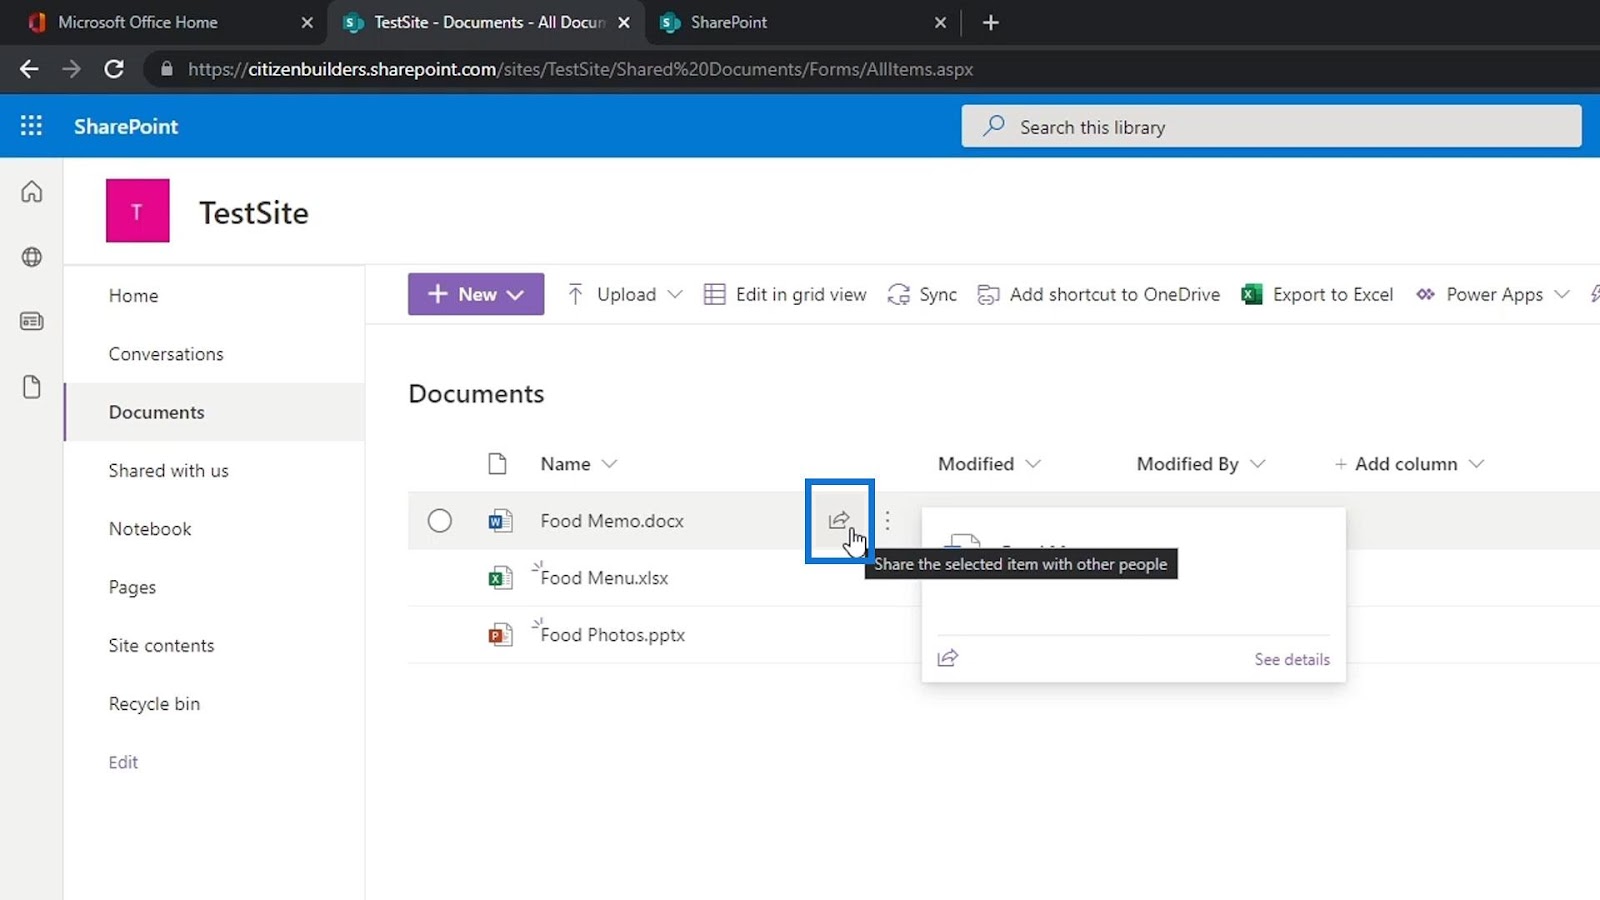
Share a Document
In the document library, click the Ellipses (...) next to the document's name. In the preview window, choose Share. Type in the name of the person you want to share with. Decide whether you'd like them to Edit or View the document. Type in any personal message you would like them to read before opening the document. Click Show Options. Check or uncheck the "Send an Email notification" box depending on your preference. Click Share.
Upload Files
There are different ways to add files to a library, but the quickest way is to drag and drop files into the document library.
Open your File Explorer, and click to grab the file you want to upload. While still holding the mouse click, pull this file into the browser window, on top of the document library. The document library will change to say "Drop Here". Release the mouse click. The document will appear uploaded to the document library.
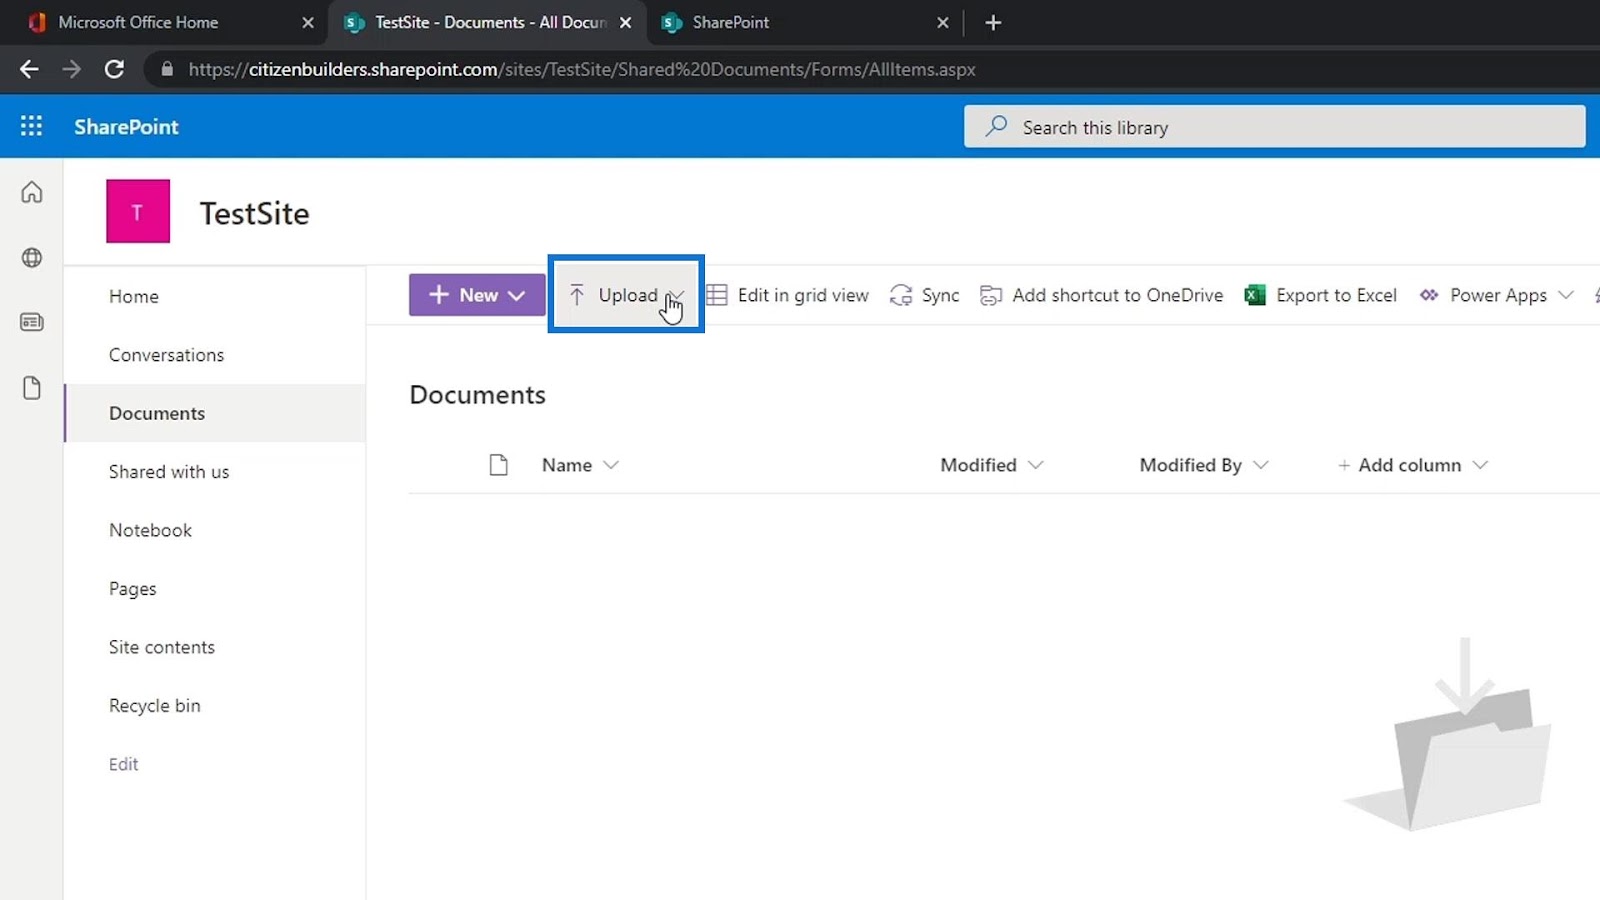
Alternatively, click the+new document link. Choose the Upload Existing Content at the very bottom, and select the files from your computer to upload. You can also add more than one document at a time. Please note, you are unable to upload entire folders this way.
Upload Folders
In order to upload folders of content, start by using Internet Explorer as your browser.
Go into the Document Library you want to add content to. In the Library Ribbon, choose Open with Explorer.
- The Document Library will appear in your computer's File Explorer.
- Right-click on the Favourites or Quick Access option.
- Choose Pin to Favourites Bar/Quick Access Menu, at the bottom of this list. A permanent shortcut to the document library will be created.
- Now, you can drag files from your File Explorer into the Document Library, and the changes will appear when you refresh your browser page.
This link to your document library is synchronized, meaning any changes you make here will also appear when using the library in the browser. You may need to refresh your browser to view these changes.
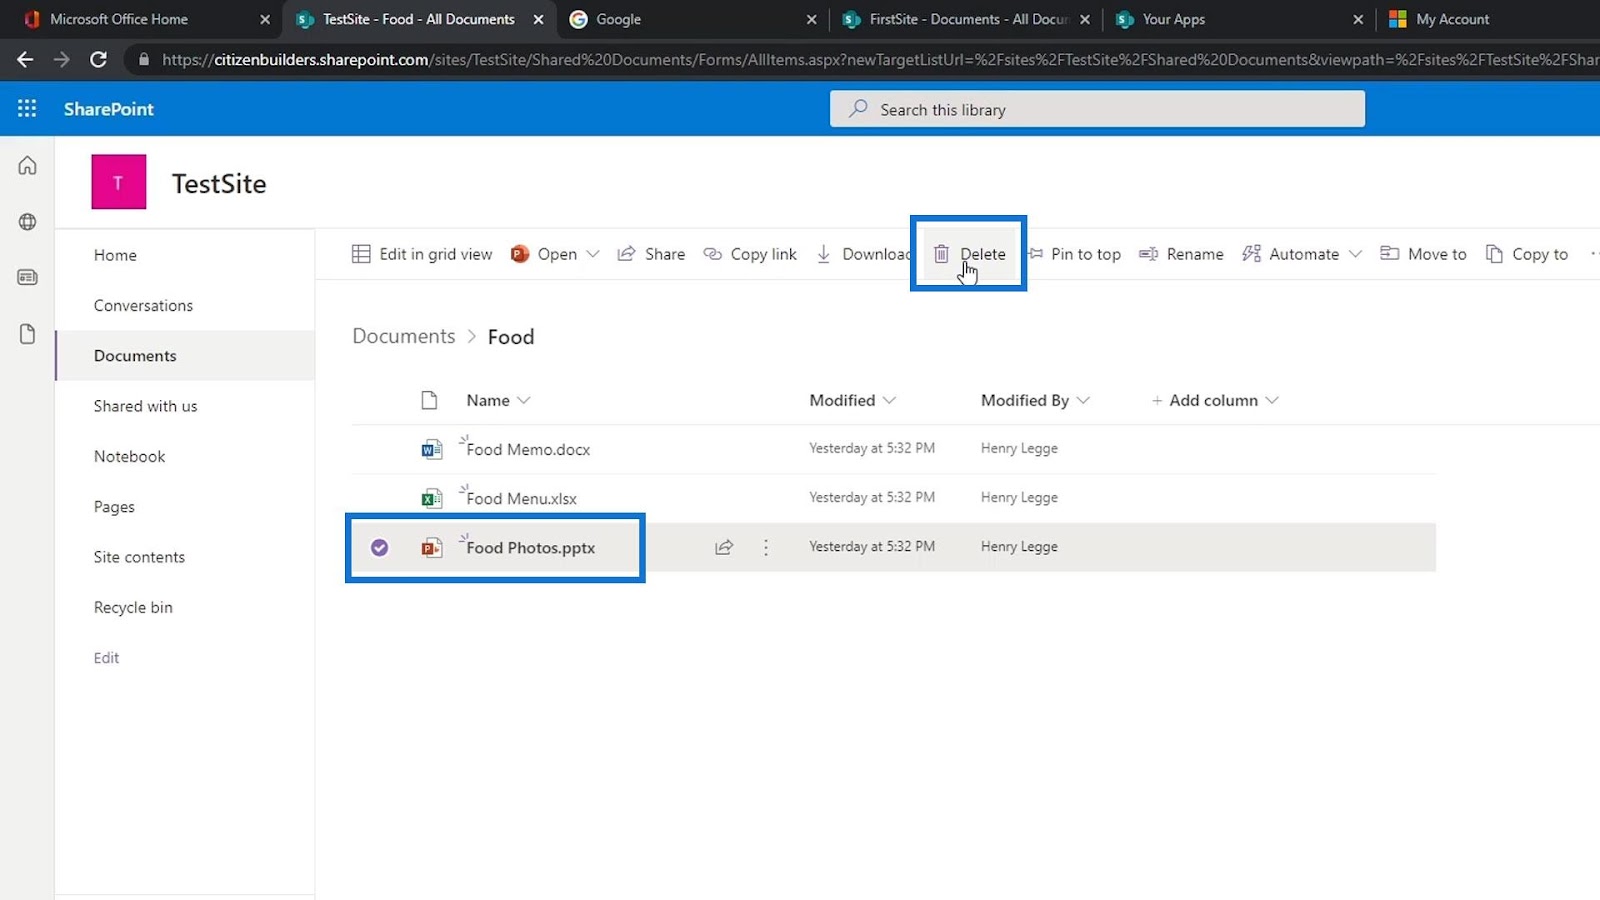
Delete a Document
- Click on the Ellipses (...) next to a file you want to delete, and then click the second ellipses (...) in the preview window.
- Click Delete.
- Click OK to confirm sending the file to the Recycle Bin.
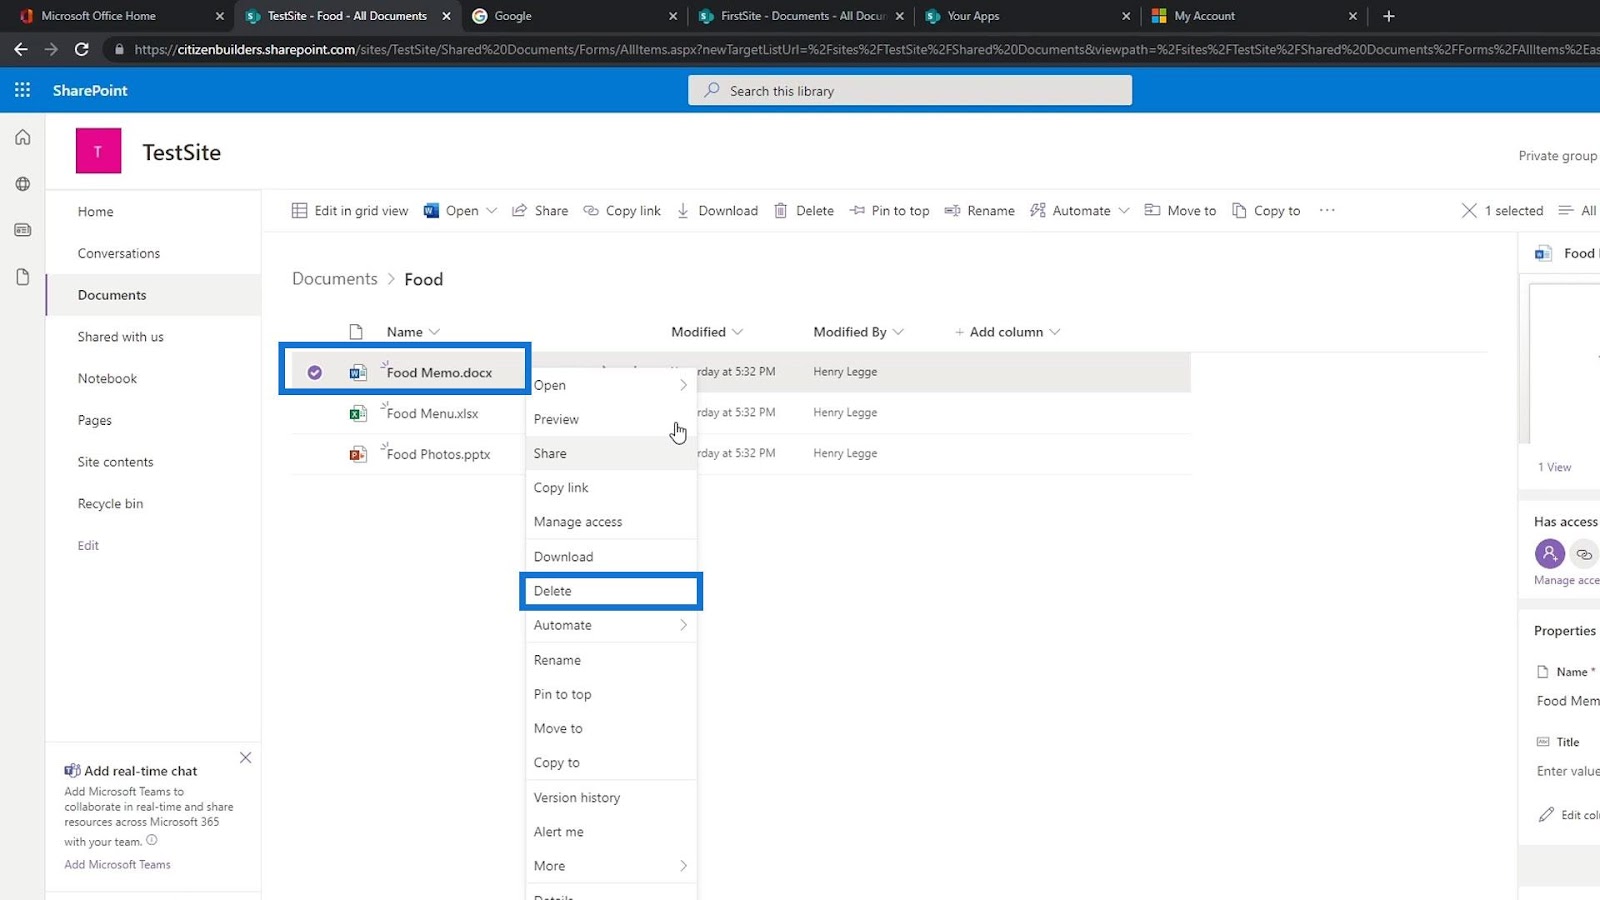
Alternatively, you can check the checkmark in front of multiple documents or folders. Go to the Toolbar, and choose Delete. Confirm whether you want to delete the files or folders.
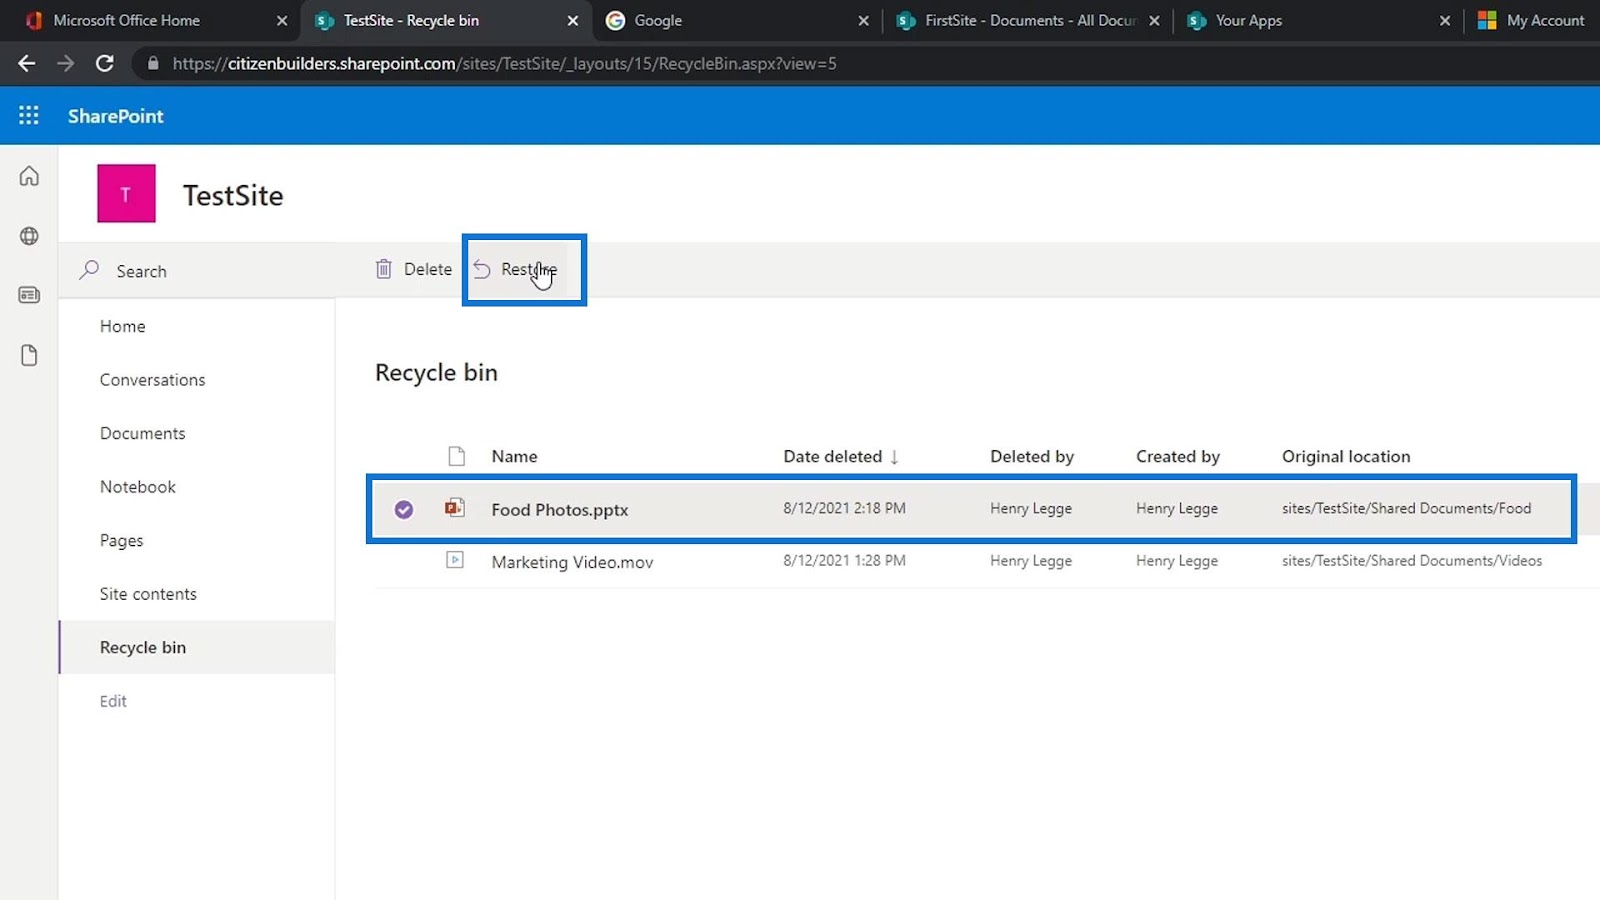
Restore a Deleted Document
Go to your Site Contents area, found in your site navigation. You can also find Site Contents in the Settings gear. Find the Recycle Bin and click it to view all documents deleted within the last 30 days.
Check the box in front of your deleted document, and choose
Restore Selection. Your document will be moved back to the document library from which it was deleted.
Add a New Document Library
Your Site comes with one pre-built Document Library, but you can add as many as you like. You must have Member or Owner permissions to accomplish this.
- Go to your Site Contents. this will either appear in the Site Navigation or in your Settings icon.
- Choose to +add an app and from the list of apps, search for or scroll down the page to locate the Document Library app.
- Click the app icon, and choose a name for the Library. Be as specific as you are able.
- Click Create to generate the list.
- The page will refresh, and return you to the main Site Contents area. You can recognize your new Library by the green New! icon attached to it.
Click the Library icon to open the library and begin adding documents to it.
Set Unique Permissions for a Library
All content on a Site inherits permission from its parent unless the permissions are broken. Only Owners can manage permissions.
- To enter the Permissions area for a Library, go to the Library ribbon.
- Choose the Settings area, find and select Library Settings.
- Choose Permissions for this Document Library, the 3rd option under Permissions and Management.
In the page that loads, notice the yellow announcement banner, which indicates the current permissions for the Library. It will say something like "This library/list/folder/document inherits permissions from its parent." In brackets is the Site or source of the permissions set.
Setting unique permissions requires two steps: Breaking the Permissions Inheritance, and Setting Unique Permissions.
Break Permissions Inheritance
- Go to your Site Contents.
- Find the Document Library you want to manage, and hover your mouse over it.
- Click the Ellipses (…) you see there.
- Choose Settings. In the page that opens, you can see the settings you can change on the whole library.
- Choose Permissions for this Document Library in the right column.
- This will open the Permissions Settings for this library (please see other resources for breaking permissions for folders).
- Notice the yellow bar with the Warning sign – it states "This Library inherits permissions from its parent." If it doesn't say "library", that's your cue that you may be changing the permissions for something else.
- Choose Stop Inheriting Permissions. This will break the permissions inheritance, but keep the Groups that currently have access to the Library.
- A Confirmation Window will appear, letting you know that you will now have to set unique permissions for this library. Choose OK.
The Permissions Ribbon will change, and you will now be able to set unique permissions for the library.
Set Unique Permissions
- Ensure you are keeping ownership of the Library by clicking Check Permissions, and entering your name. Verify where your Owner permissions are coming from, and make sure you do NOT remove that group.
- Remove any unwanted groups or users, by checking the box next to their name, and clicking Remove User Permissions.
- A Warning Window will appear, asking for confirmation that you want to remove all permissions for the selected users. Choose OK.
- Assign the appropriate users permissions to this library by clicking Grant Permissions.
- In the window that opens, enter the names of the Groups you'd like to add. If you are just adding a few people, you may prefer to add them individually. This is tied to our Active Directory, and to your unique SharePoint Groups directory, so typing the name of an AD Group, or SharePoint Group will bring those results up below the Invite field.
- Below the Personal Message box, choose Show Options.
- Uncheck the send an Email Invitation option, if you are not ready to notify people about the Library.
- Select the permissions level from the drop-down list after the Send an email invitation option. Visitors should be assigned Read Only, Members should be assigned Edit, and Owners should be assigned Full Control.
- Then click Share. The Groups or Individuals will appear in the list of permitted users.
Continue to add or remove names as you need.
Enable Document Versioning
The best time to turn on versioning is when you first build a library, before adding any content.
- In the Library ribbon, in the Settings area, find and select Library Settings. This Settings area allows you to control all the settings for this particular library.
- Choose Versioning Settings, the 2nd option under General Settings.
- In the page that loads, find the Document Version History area.
- Choose either No versioning (default), Create Major Versions, or Create Major and Minor Versions. (How do I determine if I need major or minor versions?)
- Determine if there is a limit to how many versions you'd like to keep.
- Click OK at the bottom of the page.
You will return automatically to the Library Settings page.
Need Help?
Contact the IT Service Desk or call 519. 748. 5220 ext. 3444.