What is DataLink Connect?
This software will help you score and record marks for multiple-choice tests. The scanners are currently available in these locations:
- Brantford Wellington Building Room 312
- Cambridge 3rd floor A3212
- Doon 1B42B faculty office
- Doon 2A600 faculty office
- Guelph A4 faculty area
- Milton Steeles 1104
- Reuters 2002
- University Gates
- Waterloo 1C02 Mailroom
Order the Bubble Sheets
To order bubble sheets for test scoring, fill out an IT Services Equipment Order Form. Alternatively, these may also be obtained from your department's administrative support personnel.
Get Started
Consult the DataLink Connect User Guide for any questions.
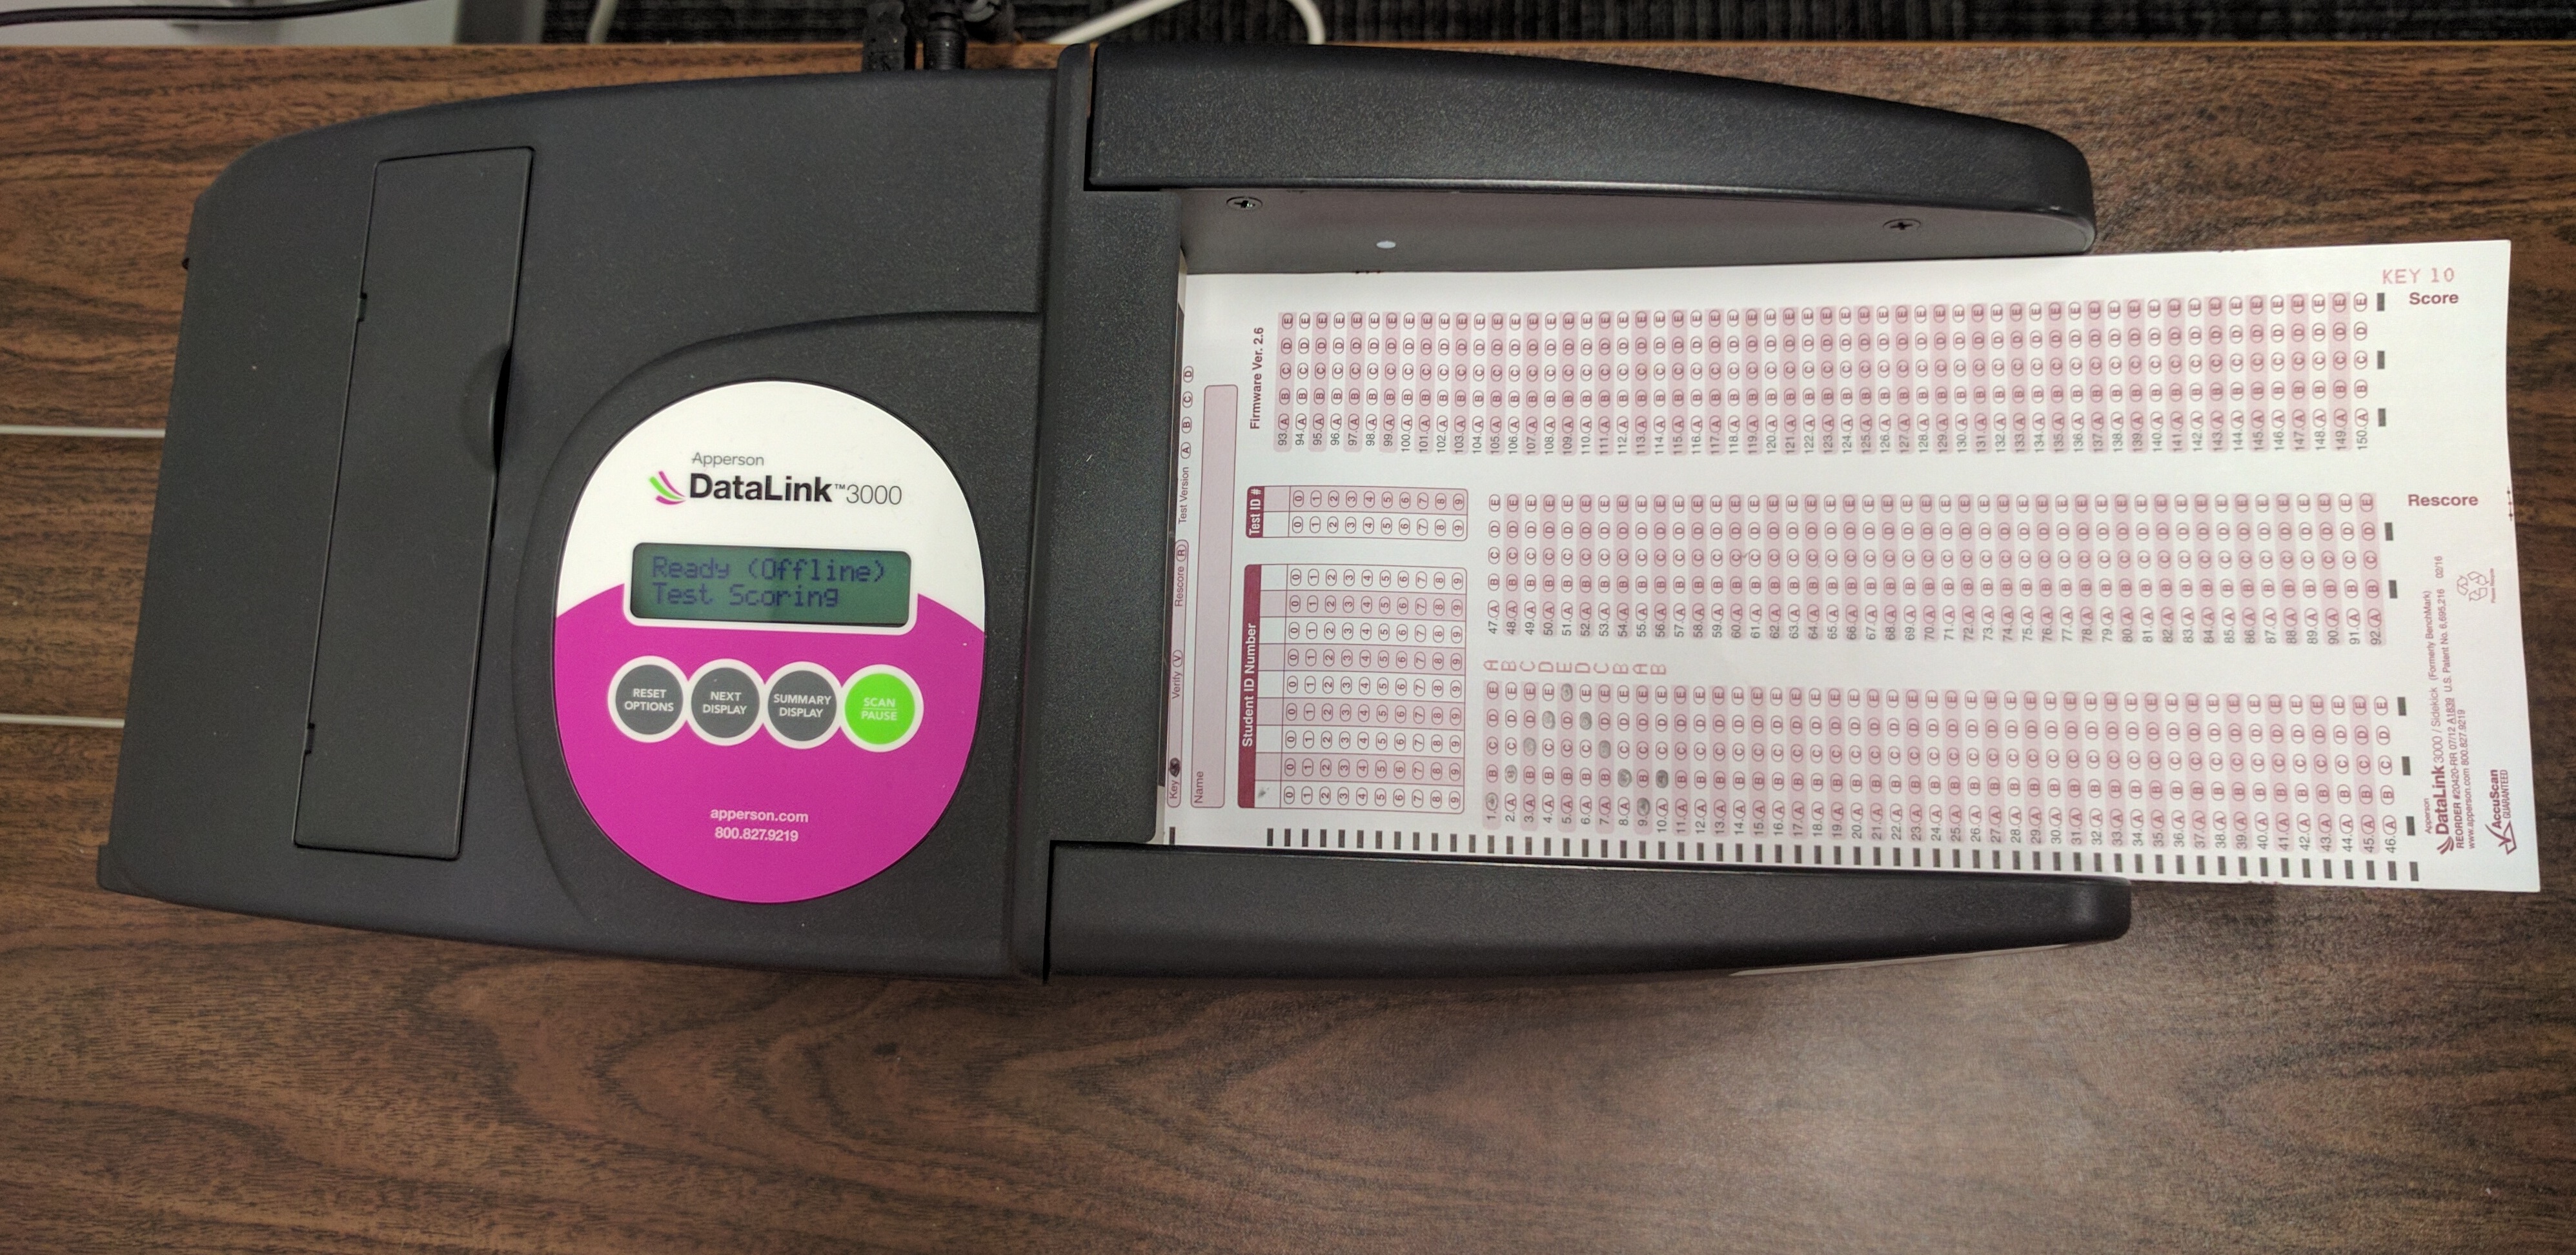
- To begin, open the DataLink Connect software on the desktop of the computer. If you do not see it on the desktop, search for it in the Start Menu.
- When the software opens, exit any tutorial windows.
- Leave the software running while you create your key and scan the test responses.
![]()
Download a Class List
This step should be completed at your desk.
To begin this, you can use a Class List, with student names and ID numbers. This can be downloaded from the Employee Portal.
First, log into the Employee Portal. Choose the Faculty tab, and choose the Class list button.
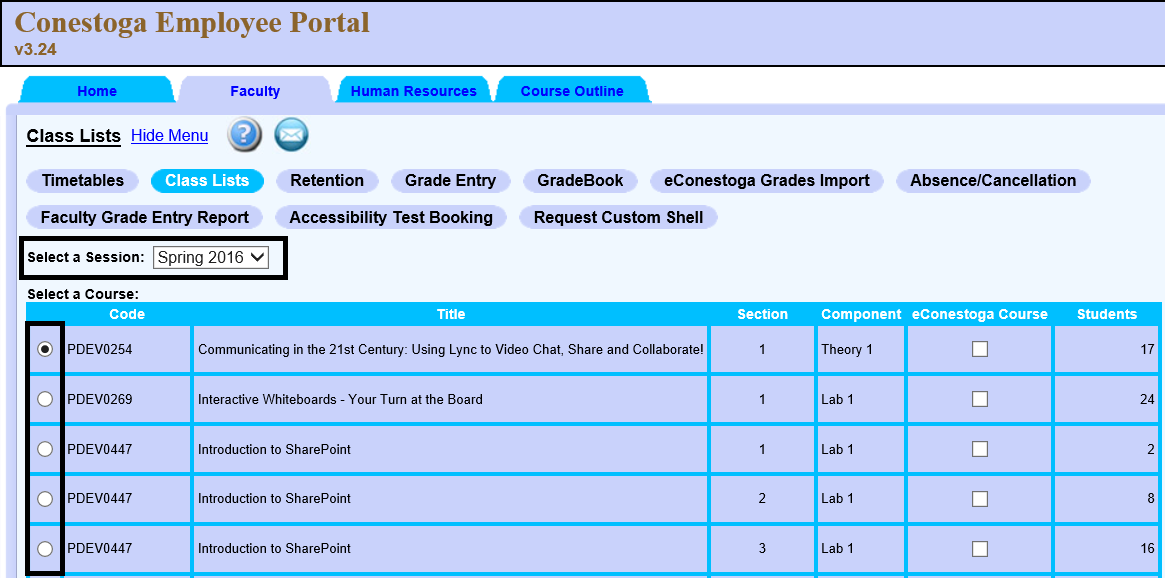
In the drop-down menu, choose the appropriate semester for your course. From the list below, choose the course you would like to administer the test in. Courses can only be selected one at a time.
Scroll to the bottom, and under Output Types, choose Excel Report. Choose the Class List as CSV to download the list.

Choose to Open the class list. It will pop open in Excel. Go into the File menu and choose Save as. Save the file to your OneDrive. Rename the file to a more appropriate format, such as "Coursecode# Class List".
Build a Student Database
In order to get set up for your semester using multiple-choice tests, you will first need to set up a Student Database.
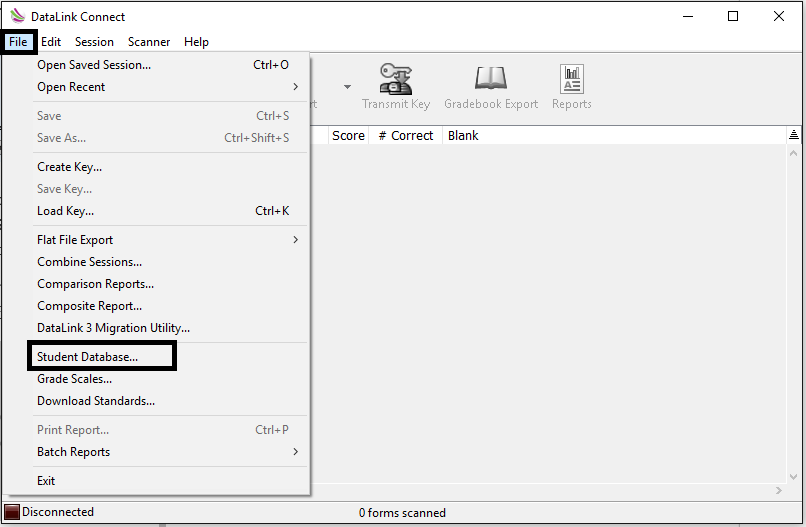
Next, open DataLink connect from your computer's Start Menu. (If it is already open, then skip this step.) If it does not appear, download and install the DataLink software from the F: Drive. Open the File menu and choose Student Database.
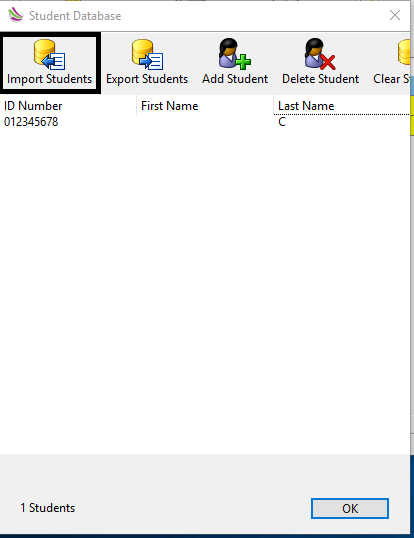
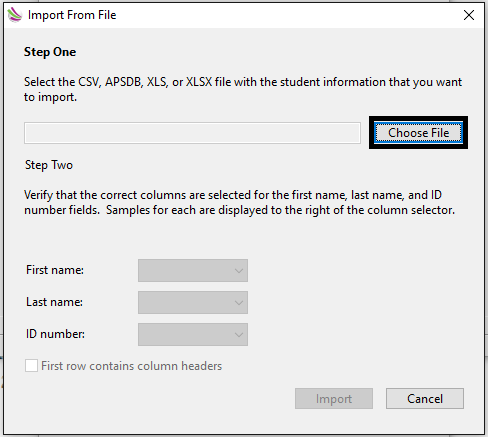
In the window that opens, choose Import Students.
This will open another window, leading you through two steps. In Step One, click Choose File. Select the CSV file you just downloaded from the Employee Portal. It may be titled "Coursecode# Class List", or you may have left it the default file name, in the format "Semester Year - Coursecode#-Sec#.csv".
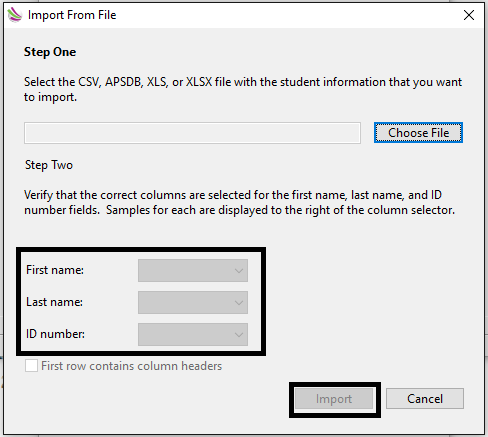
In Step Two, verify that the correct drop-down options are as follows: First Name should be Column 3, Last Name should be Column 2, and ID number should be Column 1. Select Import to complete the process.
You will now see the Student Database window populated with the names and ID numbers of the students in your course.
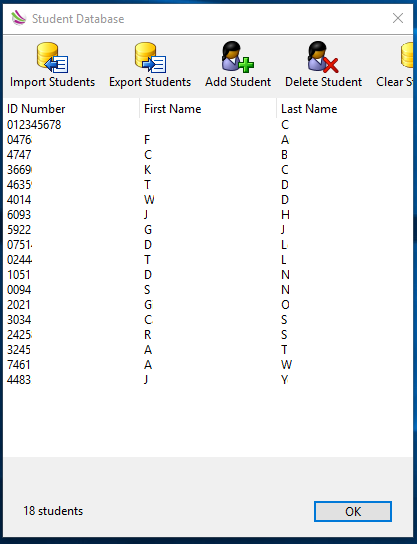
Repeat this process for each course you will be administering the tests in. Once completed, click OK.
After the Test
Create your Answer Key
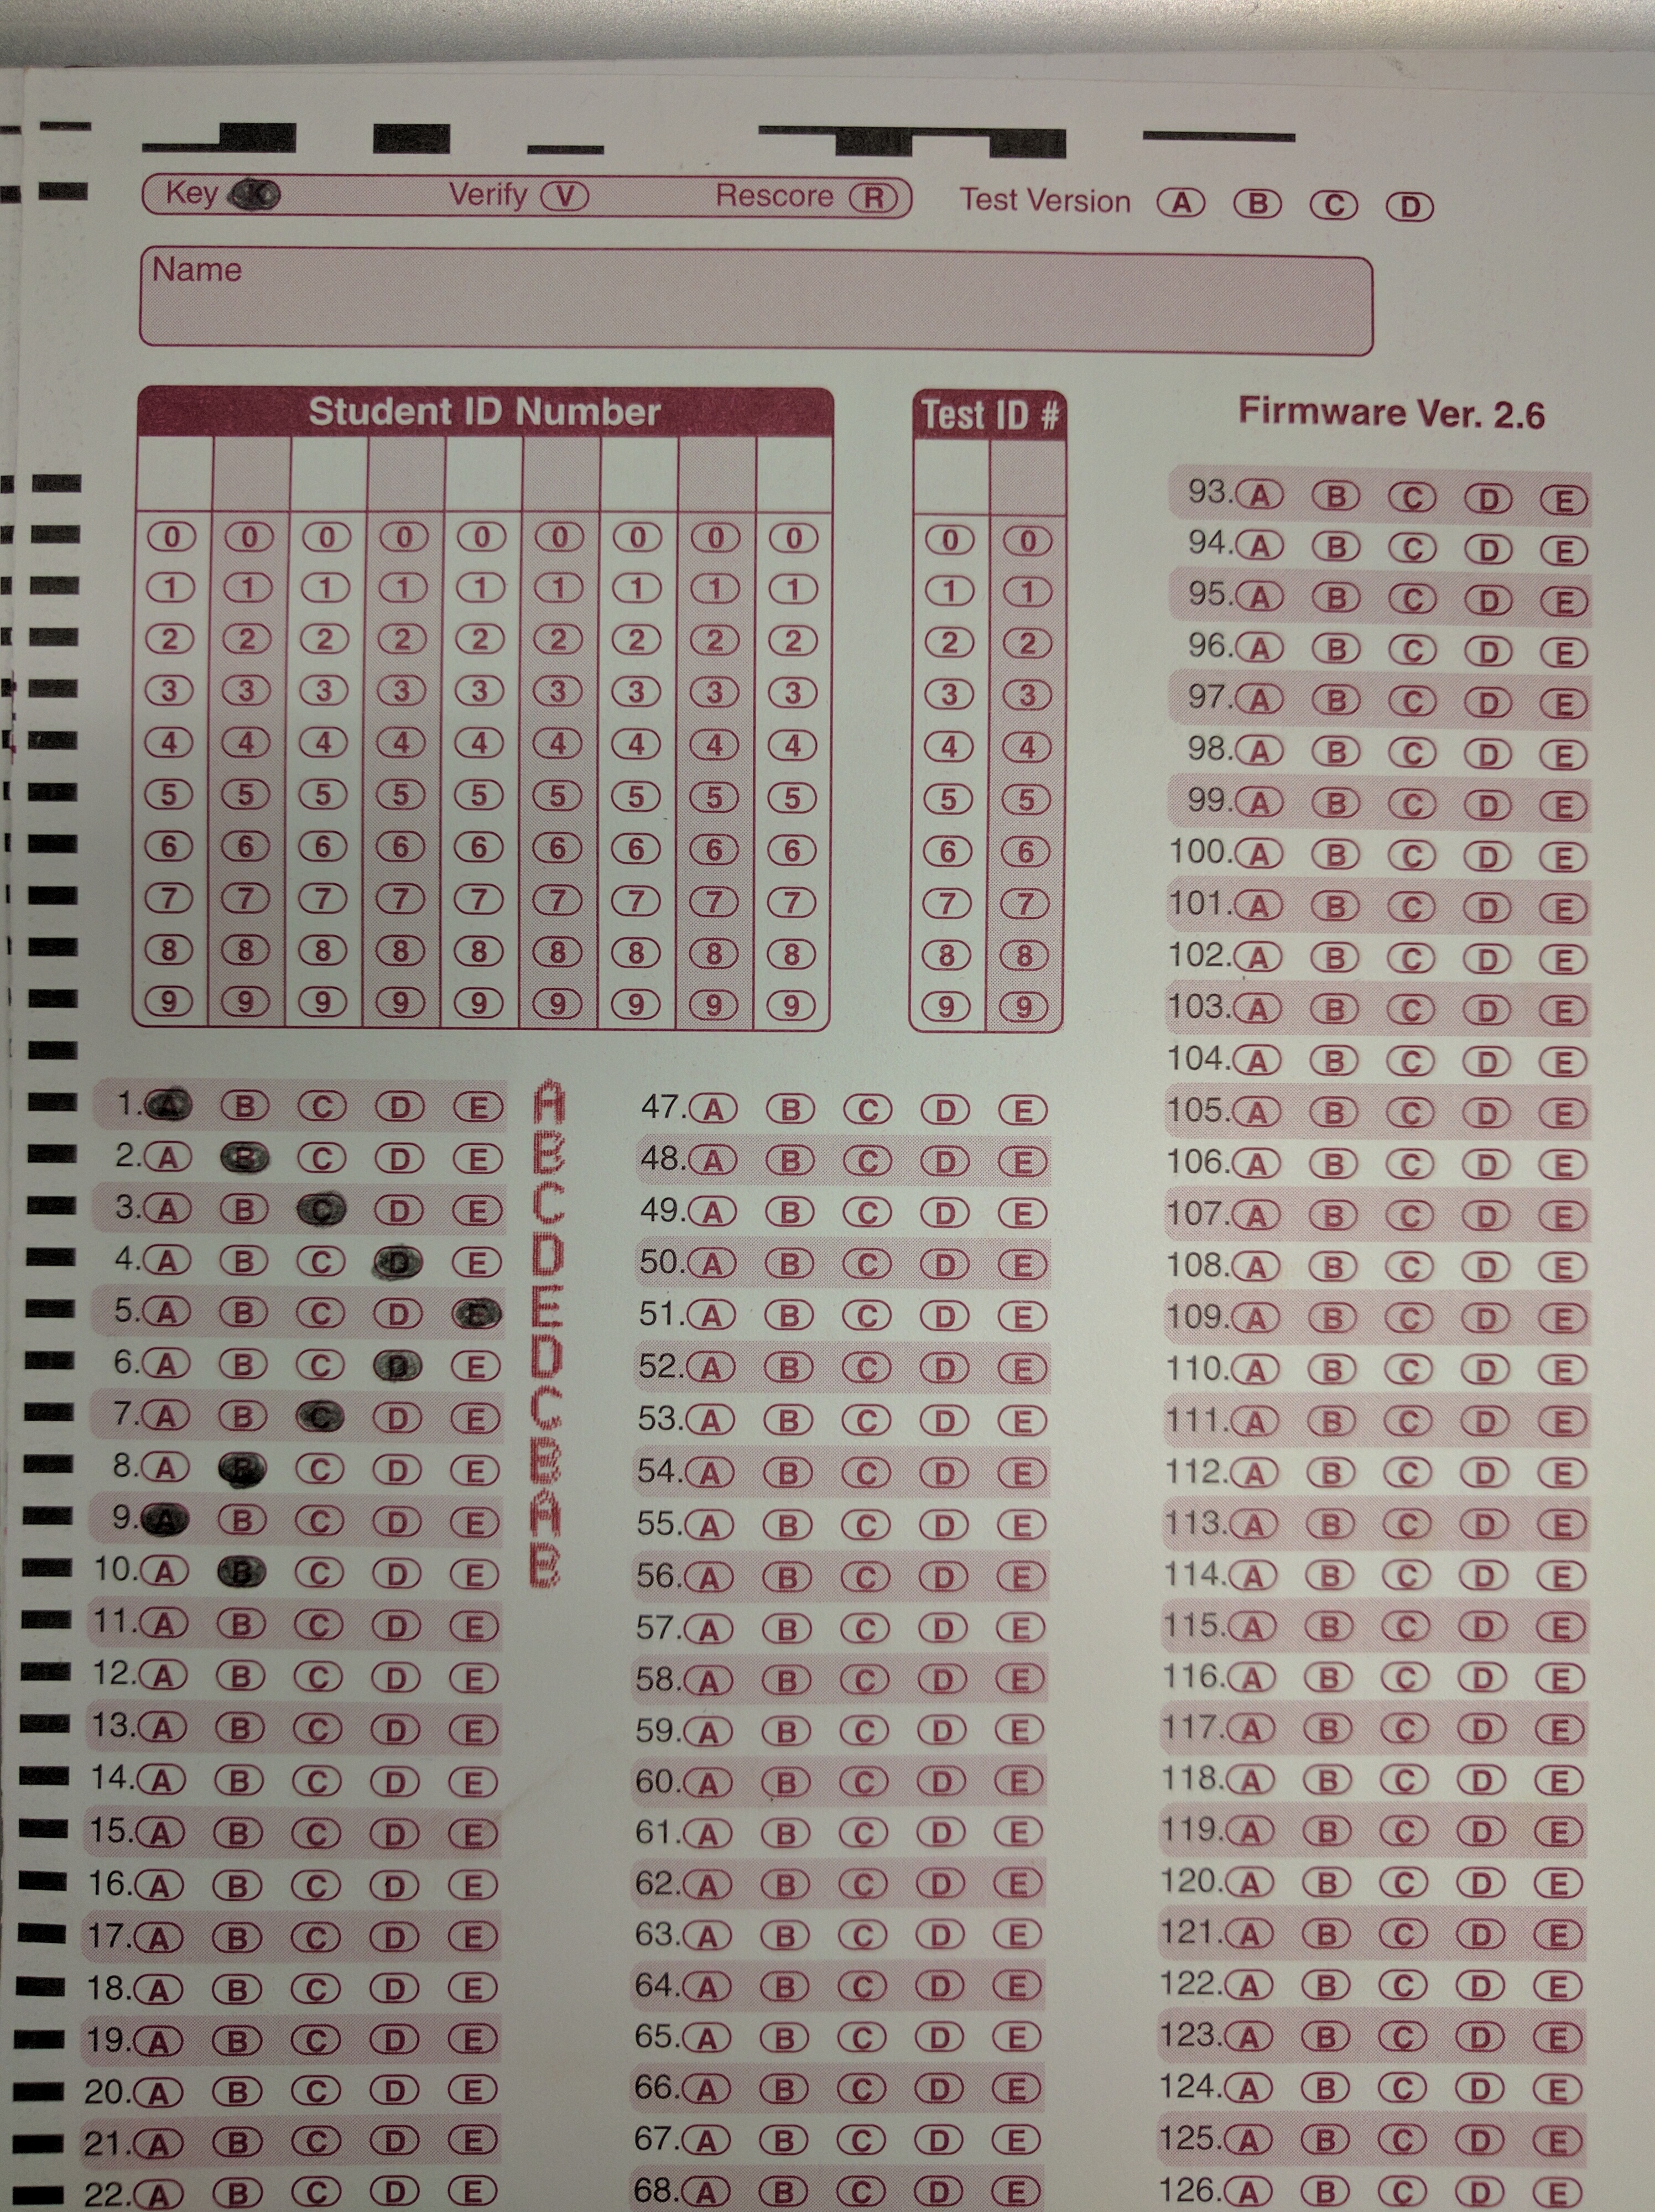
You will need one extra blank bubble sheet, in order to create your answer key.
To create your answer key, fill in a blank bubble sheet with the correct answers. Do not enter a Student ID number. Instead, fill in the bubble next to Key, at the top of the bubble sheet.

Place the key face up in the scanner and press the green Scan/Pause button. It will quickly scan.
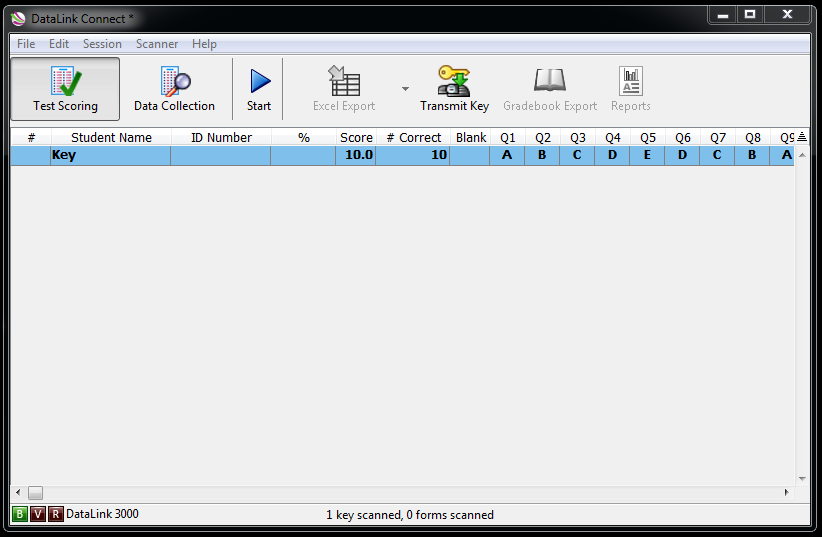
Printed next to each question, there will be the correct answer, written in red ink. Verify these are correct. Printed at the bottom right of the bubble sheet, you will now see the word Key and a number, indicating the total number of questions on your test, in red ink.
The Key results will appear in the DataLink Connect software.
Once your Key is complete, you are ready to start scanning the students' test responses.
Scan the Tests
- Place the stack of test response sheets on the DataLink scanner, face up. The students' names and ID numbers should be closest to the green Scan/Pause button. Make sure the sheets are pushed up against the rollers for the scanner.
- Press the green Scan/Pause button. The tests will be scanned and will come out the other side.
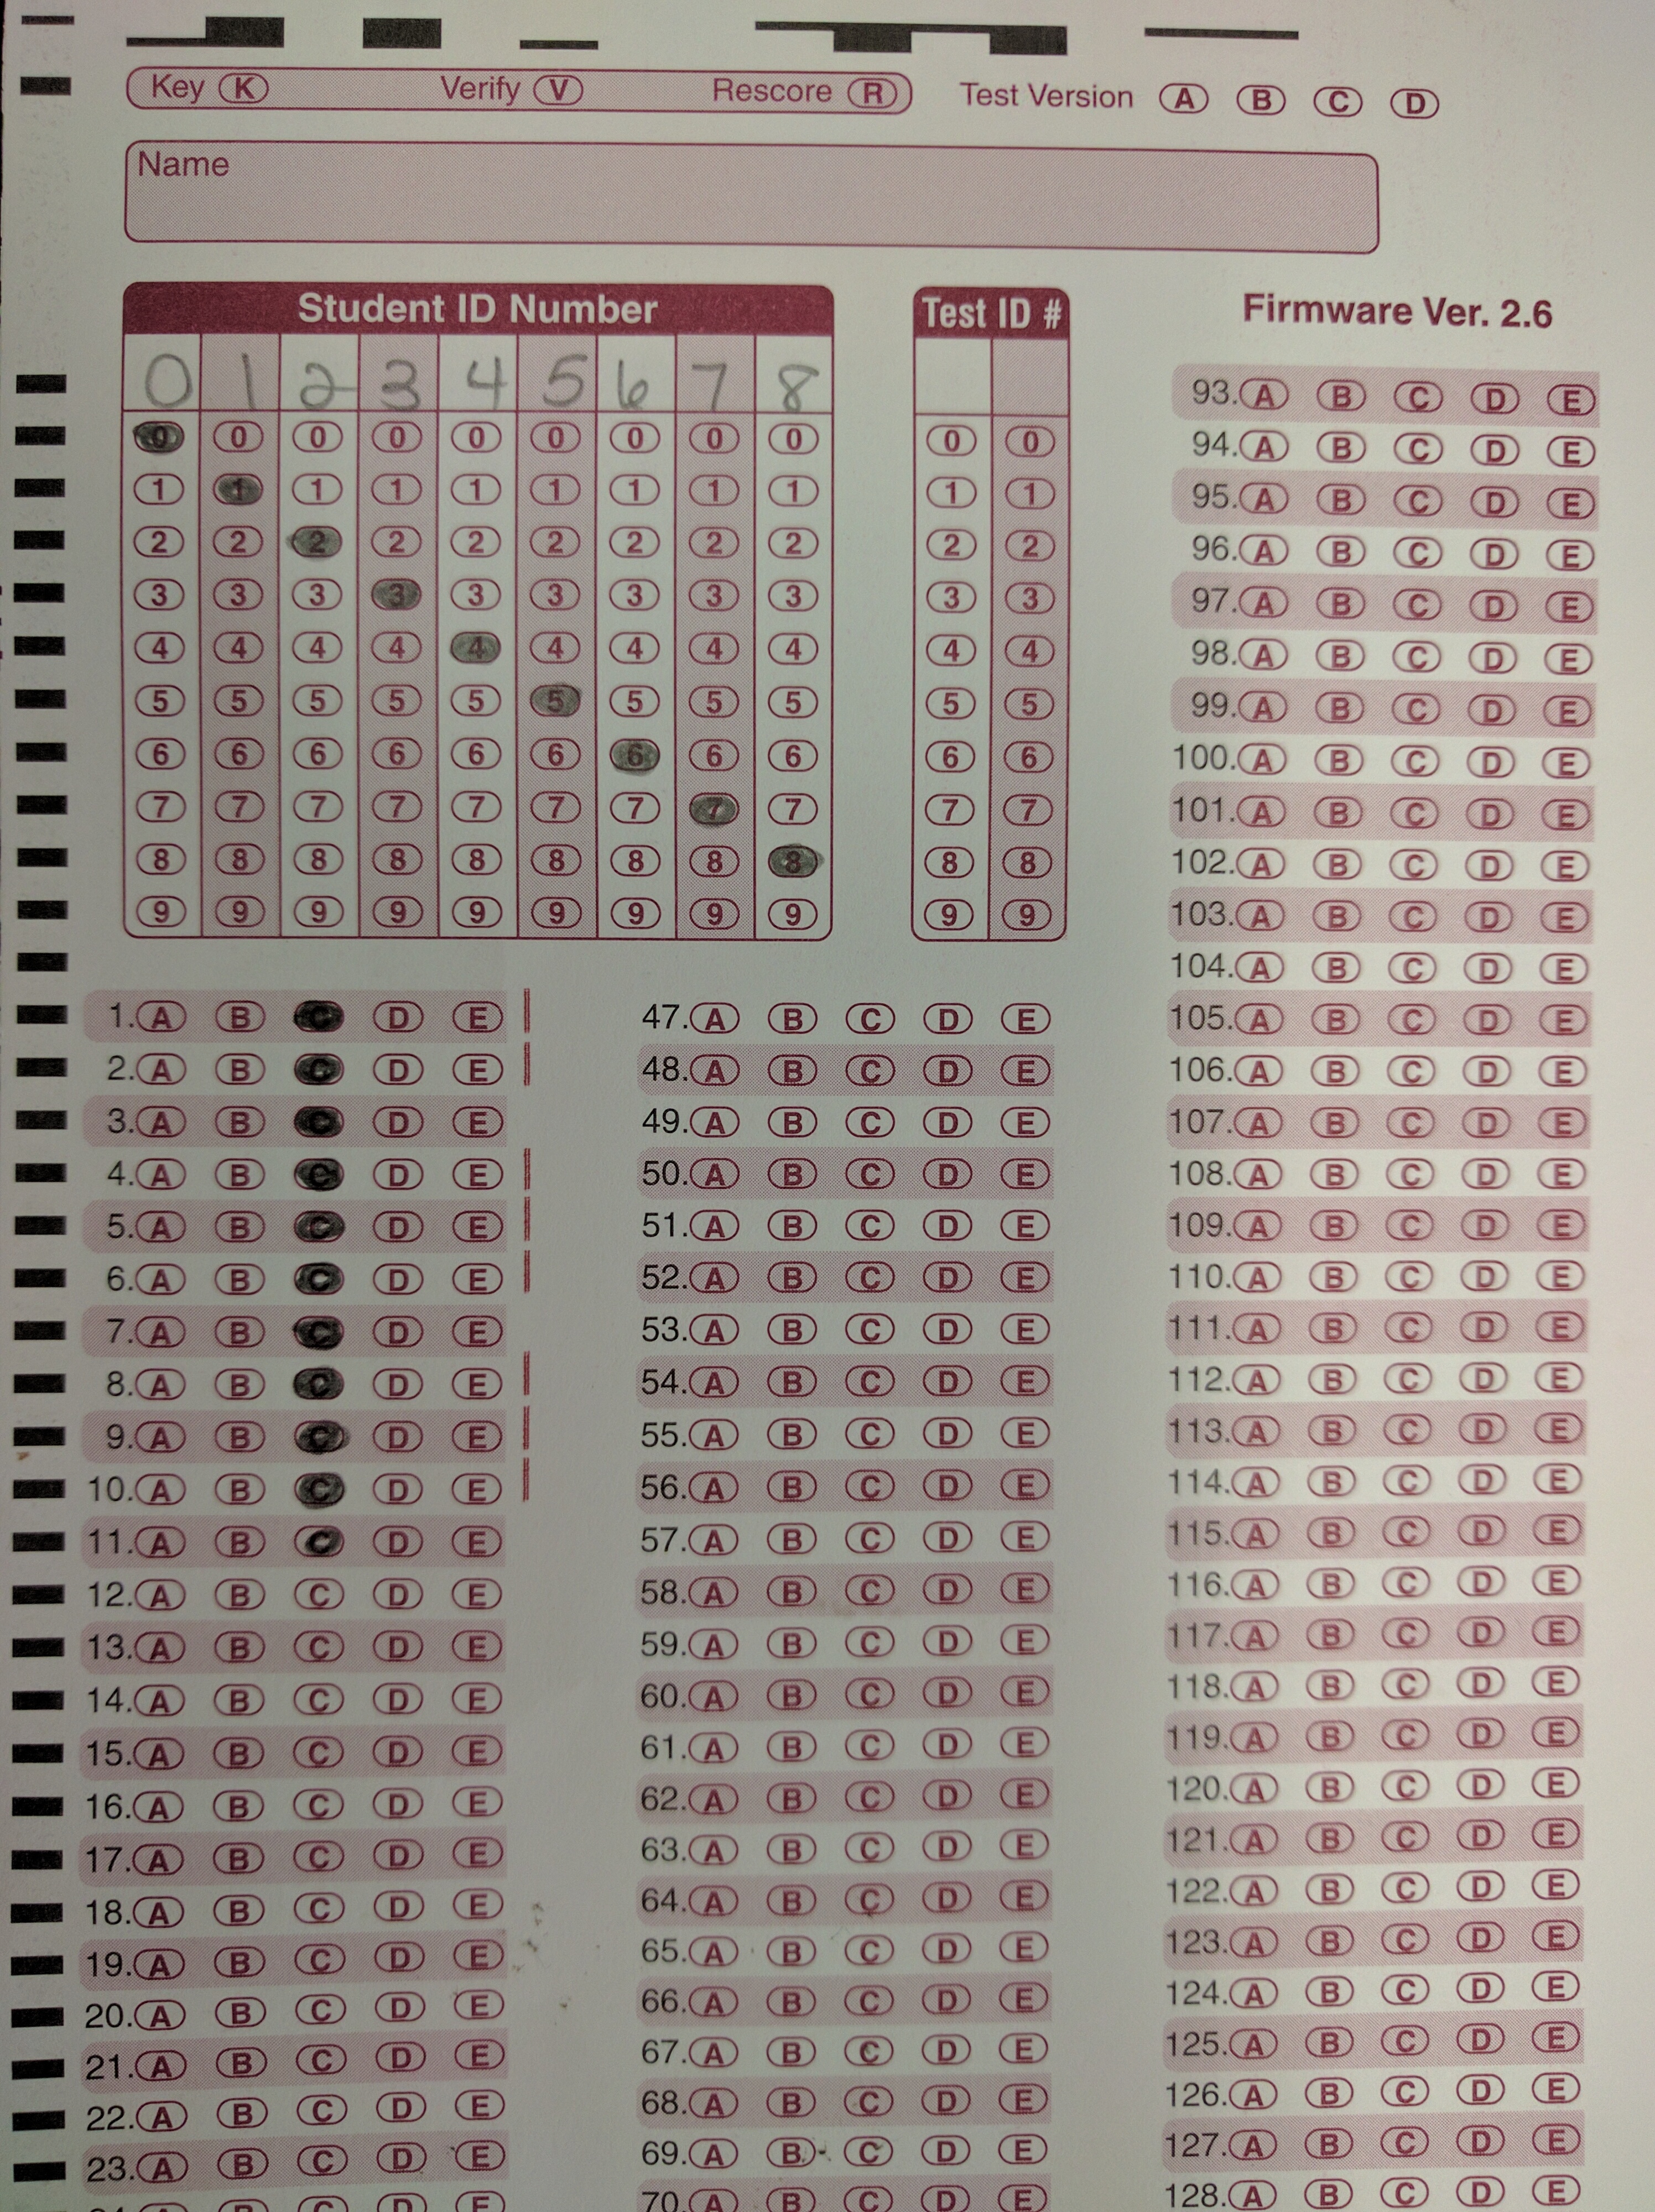
- The bubble sheets will now be marked. Incorrect answers will have a red vertical line to the right of the question. Correct responses will appear unmarked. At the bottom right of the bubble sheet, the total number of correct responses and the student's score in percentage format will be marked in red ink.
From here you can choose to either manually input your grades into eConestoga, or export grades and results as Excel reports.
Match Test Results Students' Names
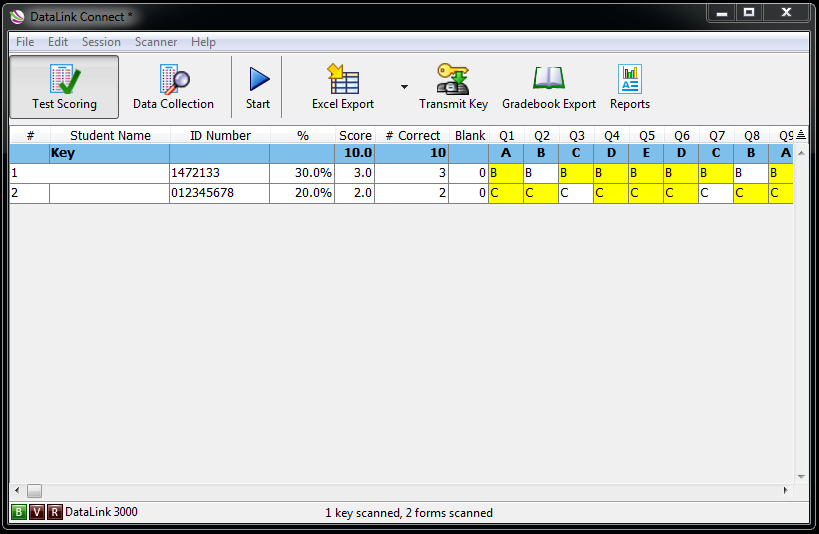
In the DataLink Connect software, the results will now appear following the Key. The student's ID number and total score will appear as the second and third fields, followed by the individual correct or incorrect responses. Incorrect responses will be highlighted in yellow. The first field, Student Name will be blank. You will want to match the right test results to the right students.
To match your Student Database against this test, go to the Session menu, and choose Merge Names with Student Database. The names will now appear next to the student's ID number.

Save the Results
To save the results of this test, click File, then Save as... Choose to save the file in your OneDrive. Make sure to rename the file into a better format, such as CourseCode # Test #.
When done scanning, press the Reset Options button on the scanner to reset it for the next person.
Generate Excel Reports with the Results
To do this, make sure you have followed the instructions in Save the Test Results. Use DataLink Connect software to create Excel reports tracking your students' performance on specific questions, and determine your class's averages and medians.
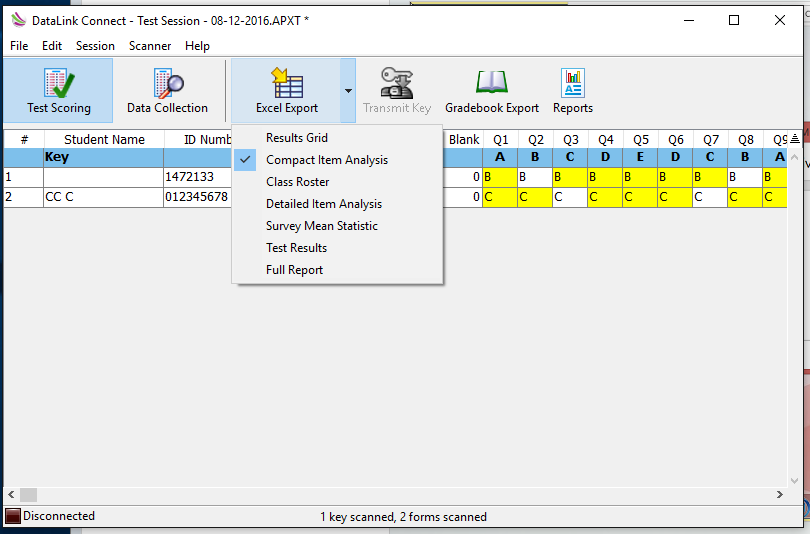
There are several reports you can generate, using the Excel Export button. This section gives a brief overview of each. Click the drop-down arrow next to Excel Report to see all the reports you can generate.
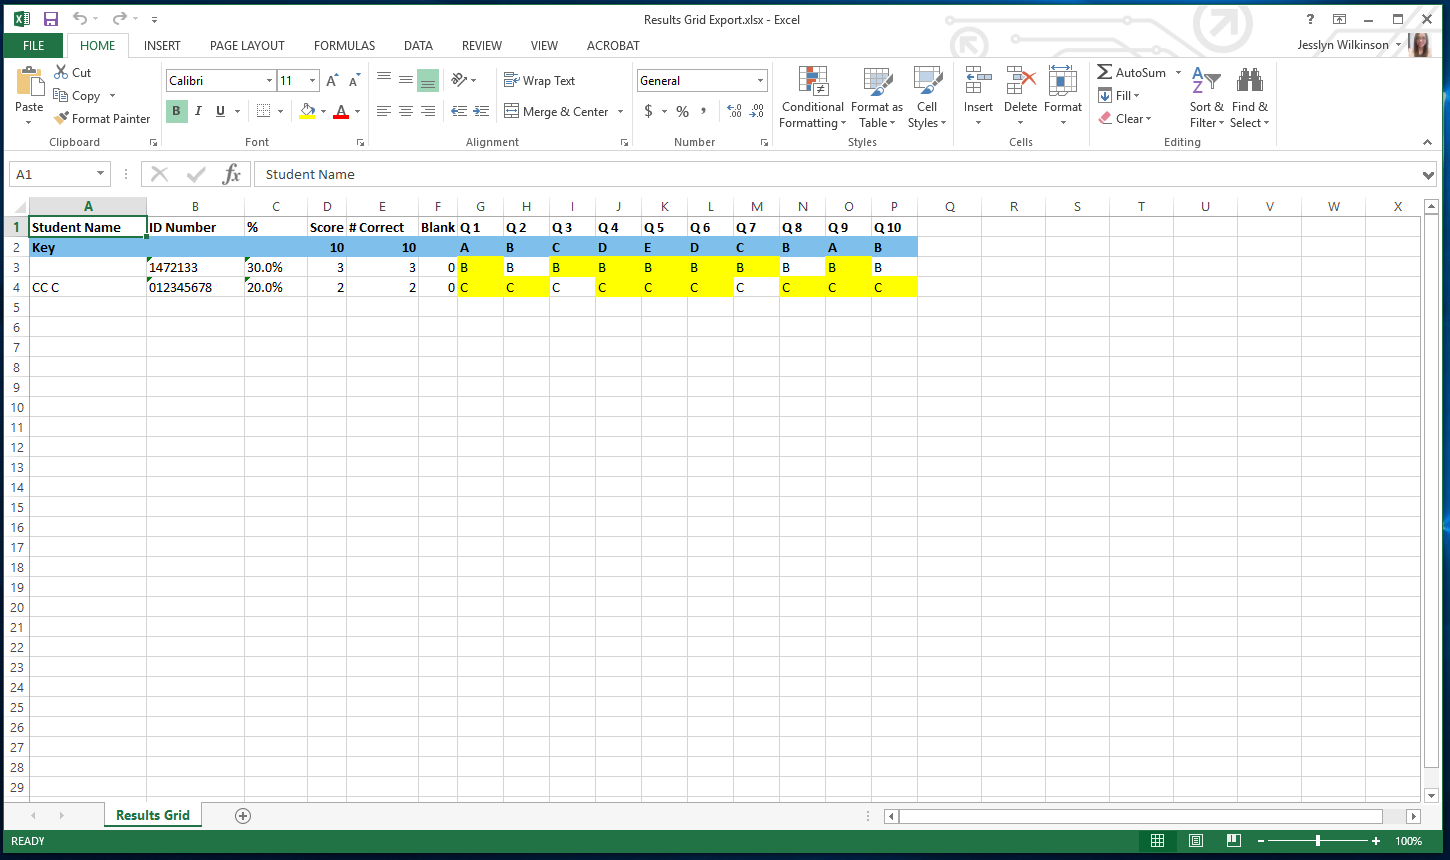
Results Grid
This report resembles the results shown in the DataLink software. It shows a complete list of the students' names, ID numbers, and responses. Incorrect responses are highlighted in yellow.
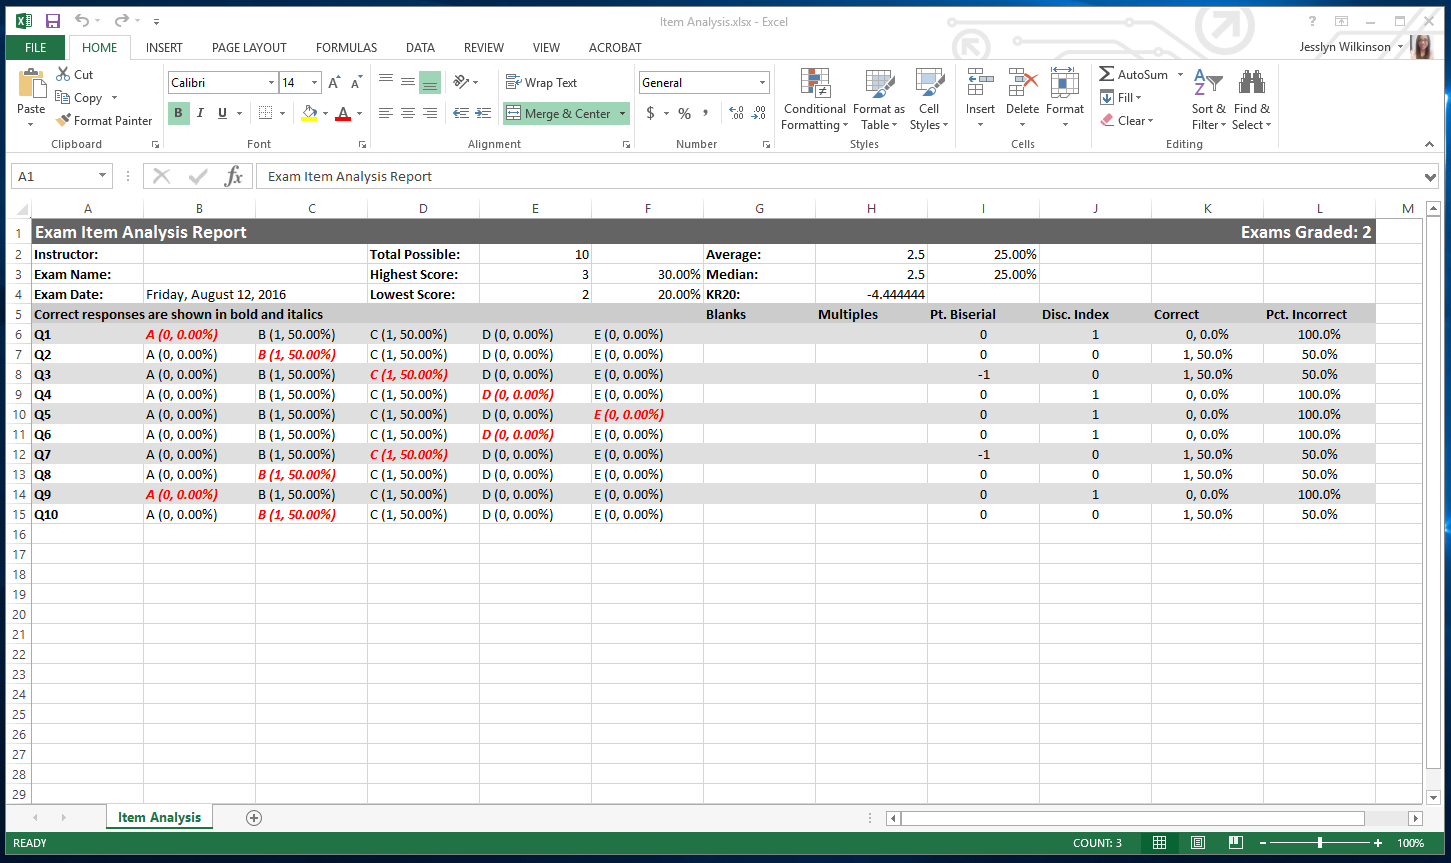
Compact Item Analysis
This report shows the performance of students on individual questions. The red, italicized text indicates the correct response, followed by the percentage of students who chose this. It can help illustrate concepts that students are not yet acquiring, and point out topics that may need to be revisited in class. It may also indicate which questions were confusing or complexly worded.
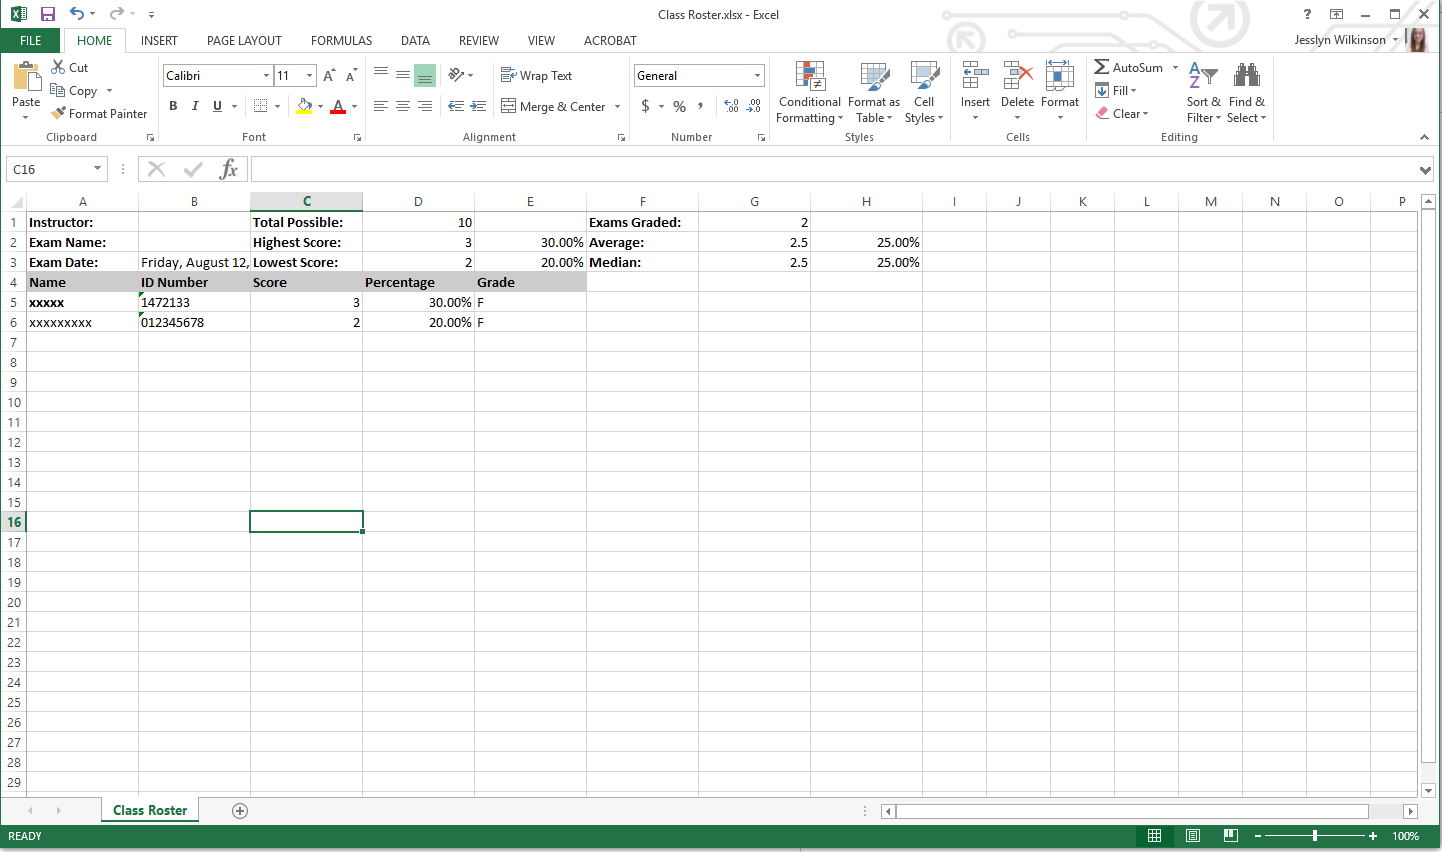
Class Roster
A class roster report shows a snapshot of this particular test, and the class's average and median performance. It shows a list of student names, ID numbers, Score (on this test), Percentage, and Letter Grade. This is the best format to save in order to submit grades to eConestoga.
Detailed Item Analysis
This type of report shows the students' performance on each individual question, in a more expanded view. It can help illustrate concepts that students are not yet acquiring, and point out topics that may need to be revisited in class. It may also indicate which questions were confusing or complexly worded.

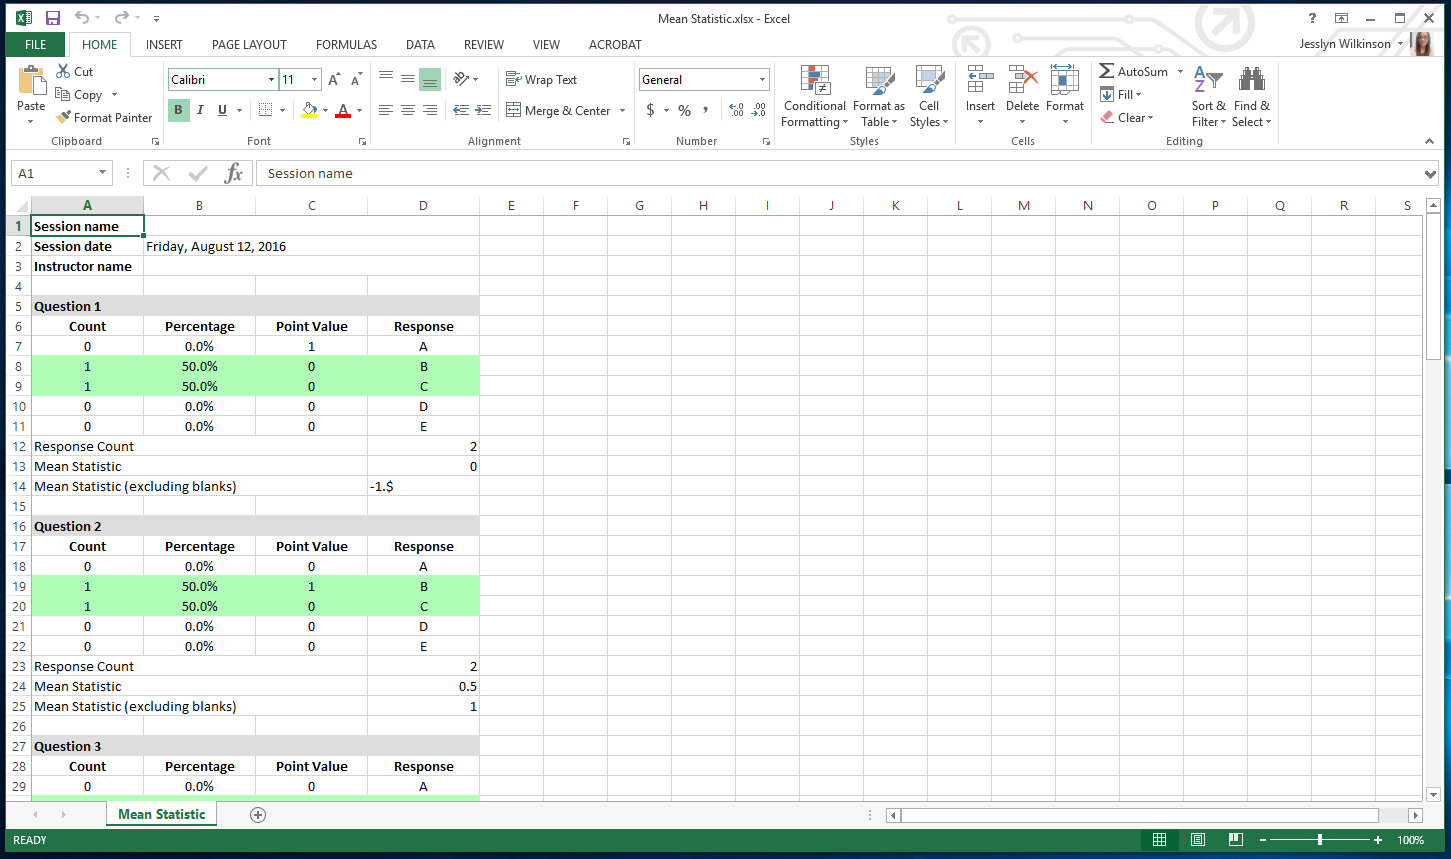
Survey Mean Statistic
This type of report shows the students' performance on each individual question, organized by question. It can help illustrate the frequency of errors, and may also indicate which questions were confusing or complexly worded.
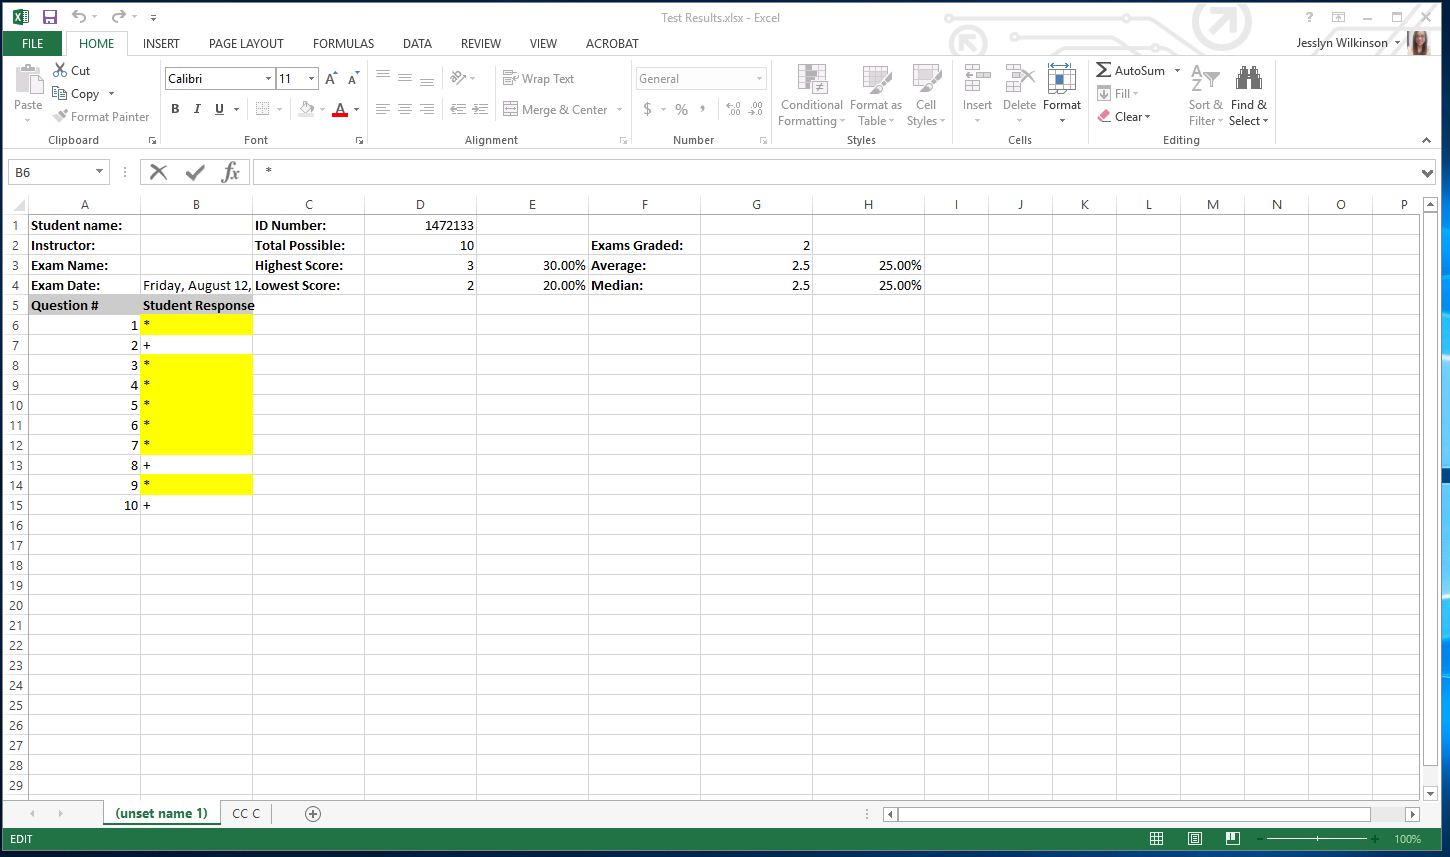
Test Results
This short report gives you a snapshot of the questions that students performed well or poorly on. Questions with poor performance will be highlighted yellow and contain an asterisk (*), while questions with average or better performance will be marked with a plus sign (+).
Full Report
With one click, generate all of the above reports into one Excel file with multiple sheets.

Submit the Results to eConestoga
When done scanning, press Reset Options on the scanner to reset it for the next person. Log off the DataLink scanner computer, so that others can scan their tests, and return to your own computer.
To submit the results to eConestoga, use the results printed on the bubble sheets to add grades to your eConestoga course. You can also copy and paste results from Excel files into eConestoga. To do so, follow the steps in Generate Results as Excel Reports, and use the Class Roster report type.
GradeBook (Employee Portal Version)
To create the GradeBook Template
- Click File -> Flat file export Manager -> this will open the following dialog box -> Click Create New
- Enter GradeBook as the name for your template
- Uncheck both Include header row and Include keys
- Click the second tab called Fields and Counts
- Click ID Number and Score
- This will create the template which only has to be created once.
*Create the GradeBook template (one time only)
Create a CSV file
Since the template has been created, you can create a CSV file by
- Clicking File -> Flat File Export Manager -> GradeBook
- Save the file to your OneDrive or.
Login onto the Faculty/Employee Portal
- Click on GradeBook
- Click on Scantron/Update
- Choose the file you had saved previously
- Choose Assignment
- Unclick First Row is Header
- Click on Preview (get grades)
- After previewing the data click Save & Close
Download DataLink on your Desktop PC
Open your computer's File Explorer.

Choose the My Computer or This PC option. Double click the Apps (F:) Drive to open it up.
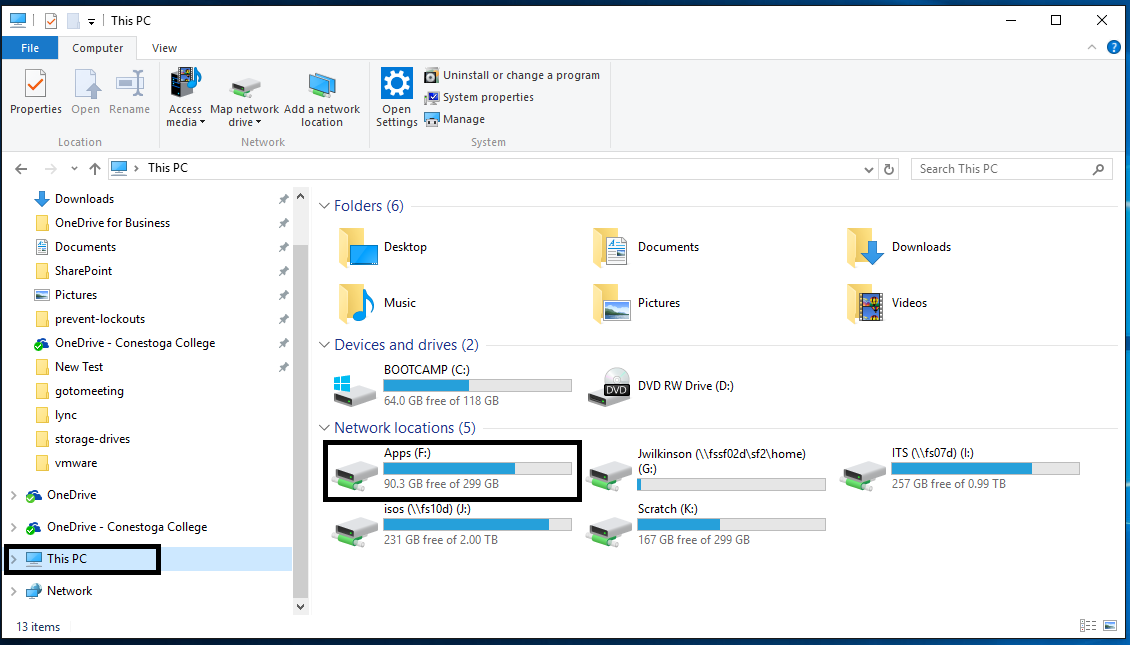
- Locate the folder called ITS and double click it to open it.
- Find the folder called Datalink and double click to open it.
- Choose the file called Setup.exe and double click to open it.
- A window will appear with the text "Do you want this app from an unknown publisher to make changes to your PC?" Choose Yes.
- The DataLink Connect Setup Wizard will begin. Click Next to continue.
- Choose to Install just for me, and click Next.
- Accept the default destination folder by clicking Next.
- Accept the Start Menu default location by clicking Next.
- Once this is completed, click Next.
- Complete the setup by clicking Finish.
- DataLink Connect will automatically open.
- Proceed to Get Started with DataLink Connect, or to Submit Results to eConestoga.
Need Help?
Contact the IT Service Desk, or call 519.748.5220 ext. 3444.