Your OneDrive
Available through your O365 email account, your OneDrive lets you store and share content.

OneDrive for PC or Android |
OneDrive for Mac/iOS |
If you are new to using the OneDrive or cloud-based content storage, learn how to upload, share and present your content.
Working from Home with your OneDrive
To work remotely with content or documents stored in your OneDrive, simply
log into your O365 email account. You can work online or offline, and
your changes will sync automatically once connected to wi-fi.
Networked Storage
Departmental
The S: Drives are being migrated over to SharePoint Document Libraries, for more information on how to migrate your contents please email itsprojects@conestogac.on.caHow to Access a Networked Drive
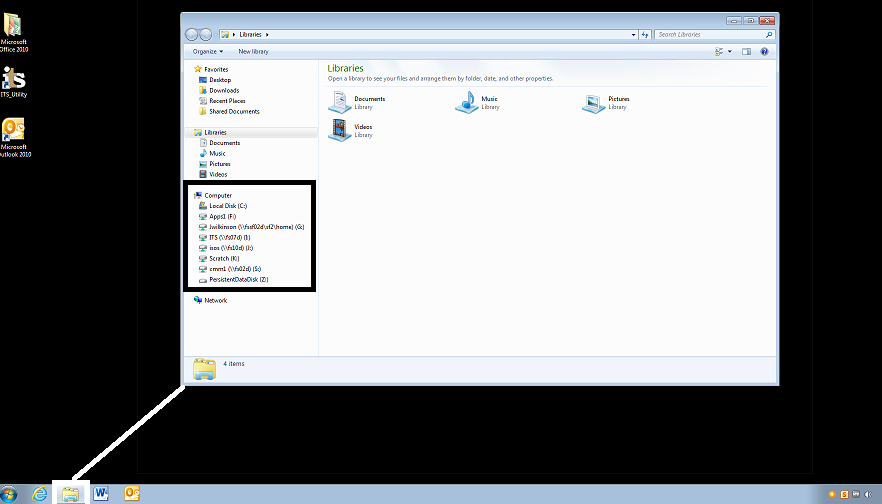
- Log in to a campus computer using your Conestoga ID and password.
- Double-click the Folder icon on the desktop or in the taskbar.
- Under Computer, double-click the storage drive you want to access . The G:, K:, S:, or F: designation is at the end of the name.
Network Shares
A network share is accessible storage on the network that does not have a drive letter. It acts as a shortcut to resources which are not behind our network login. One of the most common network shares used for employees is \\fs05d\exams.
Access a Network Share
To access a Network Share on a college computer please complete the following steps:
- Log in to a campus computer using your Condor ID and password.
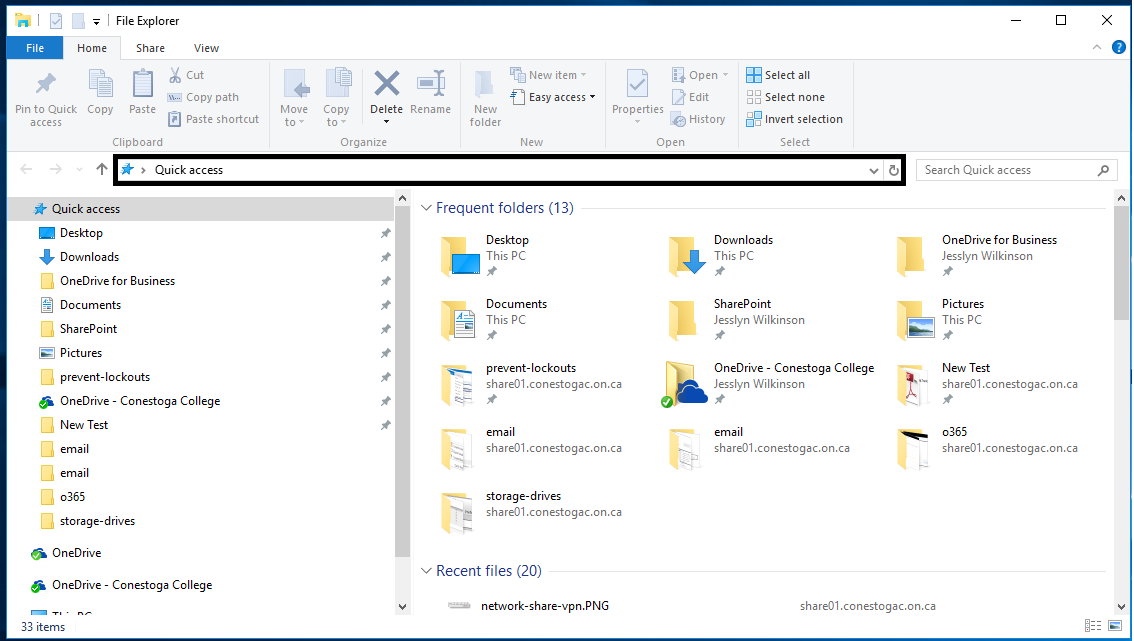
- Double-click the folder icon in the taskbar to open the File Explorer.
- Type the name of the network share in the address bar.
- Press Enter.
- You will see the available files in the network share appear in the file explorer window.
Working from Home with Networked Drives or Shares
When working from home, you may want to access documents stored on your drive. To connect to your drive, use our secure V.P.N. connection.
Login to the VPN
Instructions on how to set up and log in to the VPN can be found here: Connect to VPN
Need Help?
Contact the IT Service Desk, or call 519-748-5220 ext. 3444.